


How to Make Weed Edibles: Step-By-Step Guide to Potent Treats
Learning how to make weed edibles at home opens up a world of possibilities. You control every ingredient, customise potency to your exact needs, and save money compared to shop-bought alternatives. The process might seem daunting at first, but it’s actually quite straightforward once you understand the basics.
Why make your own cannabis edibles instead of buying them ready-made? The answer lies in complete control over quality, ingredients, and strength. When you craft homemade edibles, you know exactly what goes into each batch. You can adjust sweetness, choose organic ingredients, and most importantly, determine the precise dosage that works for your tolerance level.
This comprehensive guide covers everything from the science behind cannabis activation to creating delicious brownies and gummies. We’ll explore decarboxylation – the process that transforms inactive compounds into the effects you’re seeking. You’ll also learn about infusing fats like butter and coconut oil, which act as carriers for these beneficial compounds.
“Home cultivation and preparation allows patients to know exactly what they’re consuming, which is especially important for medical users who need consistent dosing.” – Dr. Bonni Goldstein, cannabis physician and author
Cannabis edibles have gained tremendous popularity across the UK for their discretion and convenience. Unlike smoking, edibles provide a smoke-free experience that’s perfect for those who prefer not to inhale. The effects also last considerably longer, making them ideal for managing various conditions or simply enjoying a sustained experience.
Starting with quality cannabis flower makes all the difference in your final product. BudBuddies provides premium flowers specifically chosen for their consistency and potency, giving your homemade edibles the best possible foundation. Their carefully selected strains ensure reliable results every time you cook.
Understanding the Basics: Decarboxylation and Infusion
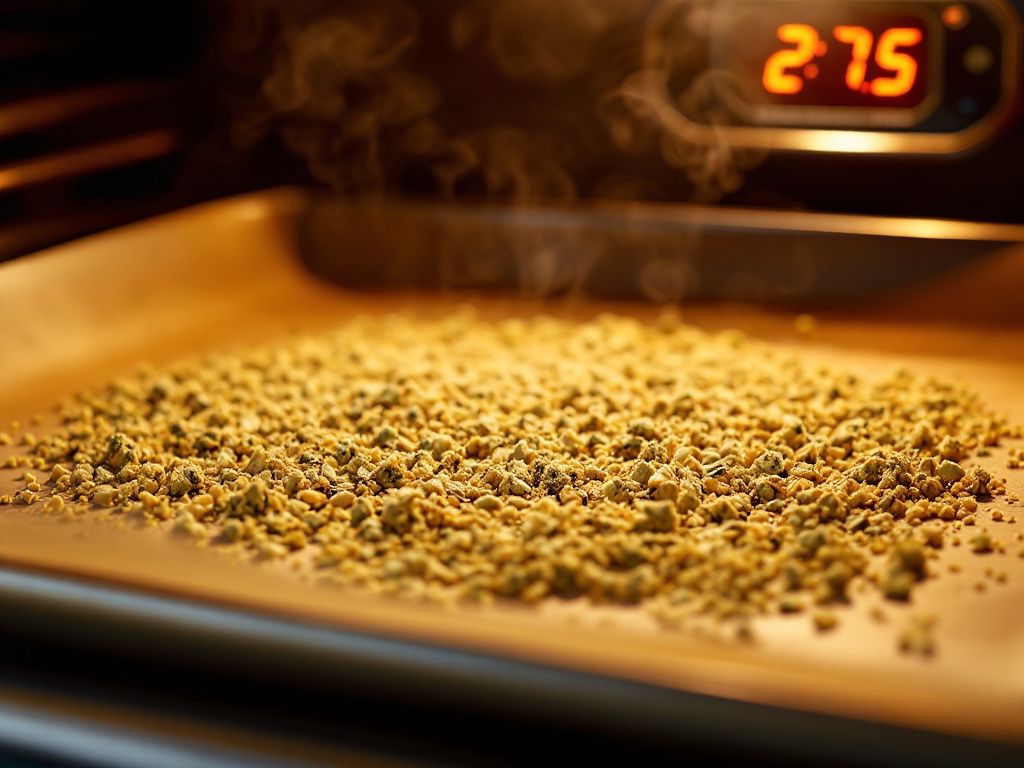
Raw cannabis contains compounds called THCA and CBDA – these are the inactive precursors to THC and CBD. Think of decarboxylation as awakening these sleeping compounds through gentle heat application. Without this crucial step, your edibles won’t produce the desired effects, no matter how much cannabis you use.
The decarb process requires precise temperature control and timing. The process involves:
- Spread coarsely ground cannabis on parchment-lined baking tray
- Heat in oven at 105-120°C for 35-45 minutes
- Monitor colour change from bright green to golden-brown
- Remove when properly activated
Why does grinding matter for decarb weed? A coarse grind exposes more surface area to heat while preventing the fine particles that can create harsh, grassy flavours. Avoid grinding too finely, as this can lead to uneven heating and potential burning of delicate compounds.
“Temperature control during decarboxylation is absolutely critical. Even a 10-degree variance can mean the difference between full activation and destroyed compounds.” – Dr. Jeffrey Raber, cannabis scientist and founder of The Werc Shop
Temperature monitoring is absolutely critical during decarboxylation. Many home ovens run hotter than their displayed temperature, so investing in an oven thermometer helps ensure accuracy. Overheating destroys the very compounds you’re trying to activate, turning your valuable cannabis into ineffective plant matter.
The second fundamental process is infusion, where activated cannabis compounds bind with fats. Cannabis compounds are lipophilic, meaning they dissolve in fats rather than water. This scientific property explains why you can’t simply add raw cannabis to water-based recipes and expect results.
Common fats for cannabis infusion include butter, coconut oil, and olive oil. Each offers different advantages depending on your intended use. Coconut oil’s high saturated fat content makes it particularly effective at binding cannabinoids. Butter provides rich flavour perfect for baked goods, while olive oil works well for savoury applications.
The infusion process involves combining your decarbed cannabis with chosen fats and applying gentle, consistent heat below 90°C. This temperature range allows optimal extraction without degrading the compounds you’ve carefully activated. Most infusions benefit from 2-3 hours of slow simmering with occasional stirring.
Essential equipment includes a reliable thermometer, fine-mesh strainer or cheesecloth, and patience. A slow cooker can maintain consistent temperatures more easily than stovetop methods, though both approaches work effectively when monitored carefully.
Crafting Potent Cannabutter and Canna-Oil
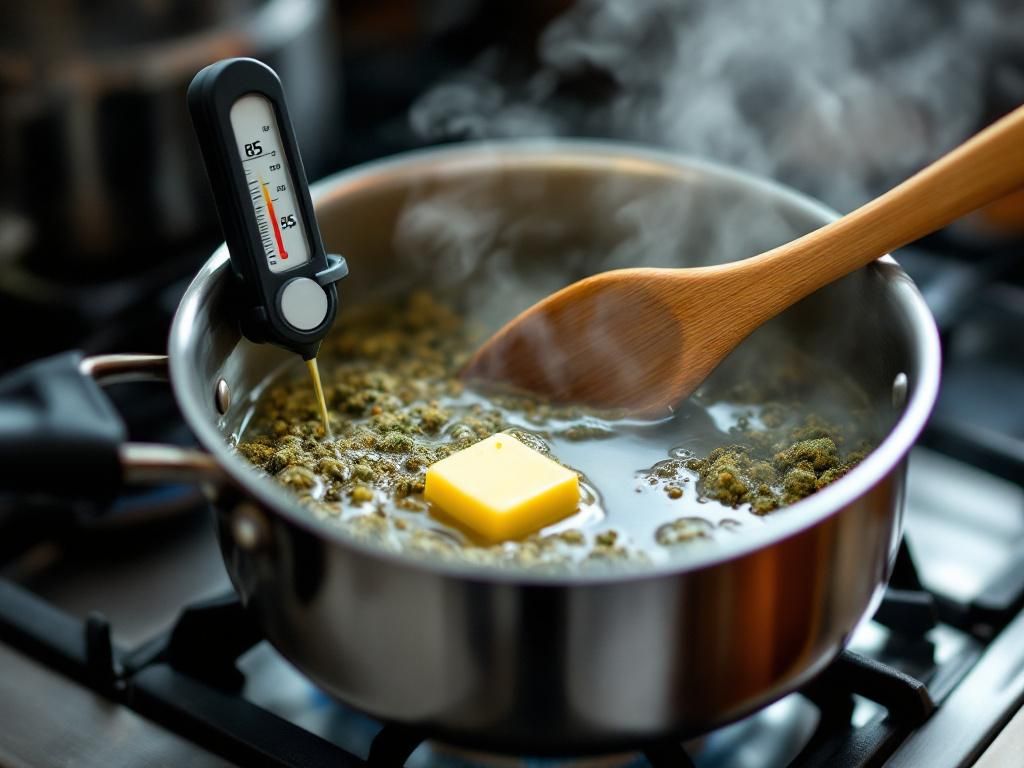
Your cannabutter recipe starts with gathering the right proportions of ingredients. For every ounce of decarbed cannabis, use approximately 500g of butter or vegan alternative. Adding a small amount of water helps regulate temperature and prevents burning, though this step is optional for experienced makers.
Begin by melting your butter in a heavy-bottomed saucepan over low heat. Add the decarbed cannabis once the butter liquefies completely. The mixture should barely simmer – vigorous bubbling indicates excessive heat that could damage your infusion. Maintain this gentle simmer for 2-3 hours, stirring every 30 minutes to ensure even extraction.
Temperature control cannot be overstated in importance. Keep your mixture below 90°C throughout the entire process. Higher temperatures break down cannabinoids and create bitter, less effective infusions. A candy thermometer clipped to your saucepan helps monitor temperature without constant checking.
Straining your finished cannabutter requires patience and the right technique. Line a fine-mesh sieve with cheesecloth and slowly pour the mixture through, allowing gravity to do most of the work. Some people gently press the plant material to extract additional infused butter, though excessive pressure can introduce unwanted plant flavours.
Storage tips for your finished products:
- Store in clearly labelled, airtight containers
- Keep refrigerated for several months
- Consider portioning into ice cube trays for easy measurement
- Use dark containers for oil-based infusions
Creating infused coconut oil follows a nearly identical process to cannabutter. Coconut oil’s natural properties make it exceptionally good at binding with cannabis compounds. The oil remains solid at room temperature, making it suitable for recipes requiring solid fats.
Olive oil infusions work particularly well for savoury cooking applications. The lower saturated fat content means slightly less cannabinoid binding, but the health benefits and flavour profile make it worthwhile for certain recipes. Store oil-based infusions in dark containers to prevent light degradation.
Starting with premium cannabis flower from BudBuddies ensures consistent potency across all your infusions. Their carefully cultivated strains provide reliable results, eliminating the guesswork often associated with unknown cannabis sources. Quality inputs directly translate to quality outputs in edible making.
Delicious Edible Recipes: Brownies and Gummies
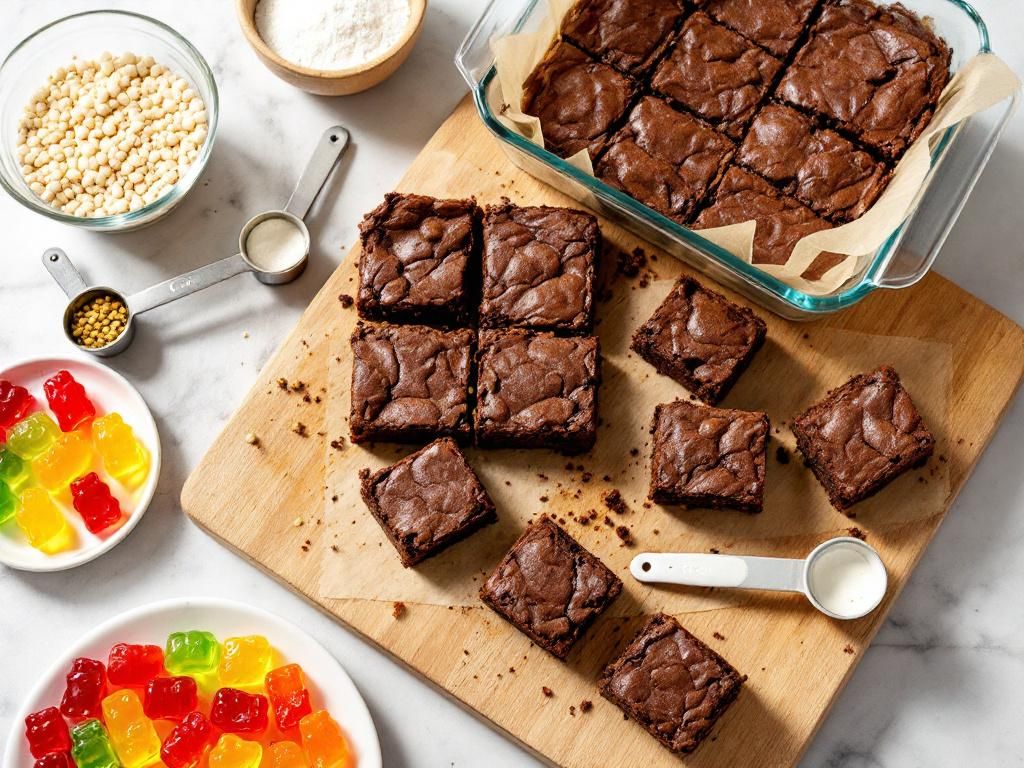
Classic cannabis brownies remain popular for good reason – they’re forgiving, delicious, and effectively mask any residual cannabis flavour. Start with your favourite brownie recipe and substitute cannabutter for regular butter in equal amounts. The key lies in thorough mixing to ensure even distribution throughout the batter.
The brownie-making process:
- Preheat oven to 165°C and prepare your baking pan with parchment paper
- Combine dry ingredients in one bowl, wet ingredients in another
- Mix wet and dry components until just combined
- Bake for 25-30 minutes, testing with toothpick
- Cool completely for 2 hours before cutting
Cooling completely before cutting is crucial for both texture and dosage consistency. Warm brownies crumble and create uneven portions, making dose control difficult. Allow at least 2 hours of cooling time before cutting into uniform squares.
Cannabis gummies offer a fun, fruity alternative to baked edibles. These THC gummies require gelatin, your cannabis oil or tincture, fruit juice, and sweetener. The key to successful gummies lies in temperature control and proper mixing ratios.
The gummy-making process:
- Heat 120ml fruit juice without boiling
- Sprinkle gelatin over warm juice and whisk until dissolved
- Remove from heat and add cannabis oil, sweetener, and colouring
- Pour quickly into silicone moulds
- Refrigerate for at least 30 minutes
Adding citric acid creates that signature sour coating found on commercial gummies. Roll finished gummies in a mixture of sugar and citric acid for an extra flavour punch. This coating also helps prevent individual gummies from sticking together during storage.
Both brownie and gummy recipes demonstrate how versatile your homemade infusions can be. The same cannabutter that creates rich brownies can be adapted for cookies, cakes, or frosting. Similarly, cannabis oils work in everything from salad dressings to stir-fries, though remember that high heat cooking can degrade cannabinoids.
Even distribution remains the most critical factor in all edible recipes. Whether you’re making weed brownies or gummies, ensure your infused ingredients are thoroughly incorporated. This attention to mixing detail prevents the disappointment of some pieces being significantly stronger than others.
Mastering Edible Dosing: Start Low, Go Slow
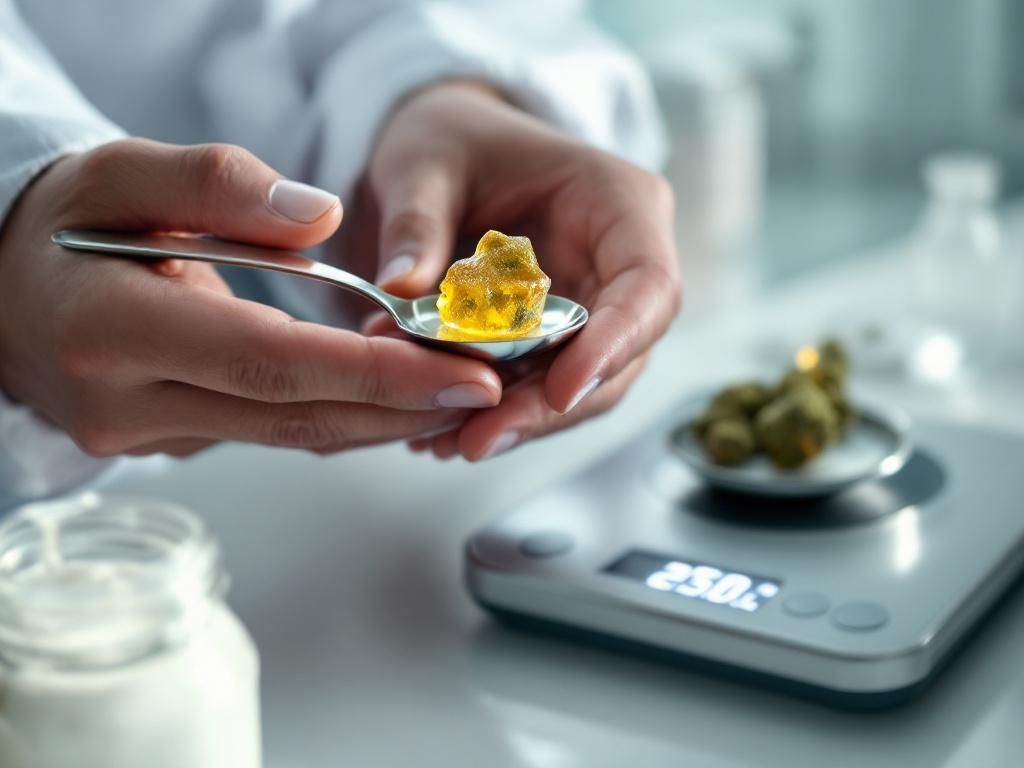
Accurate dosing separates enjoyable edible experiences from overwhelming ones. Unlike smoking, where effects appear within minutes, edibles require patience as they work through your digestive system. This delayed onset catches many newcomers off guard, leading to overconsumption when effects don’t appear immediately.
Several factors affect your edible’s final potency. The original cannabis strength, decarboxylation efficiency, and infusion method all play roles. Even your cooking method can impact edible potency – excessive heat during baking breaks down cannabinoids just like during infusion.
Estimating dosage begins with understanding your starting material. If you know your cannabis contains 20% THC, you can calculate potential potency using basic mathematics. However, home infusions rarely achieve 100% efficiency, so expect actual potency to be somewhat lower than theoretical calculations suggest.
Edible dosage calculator tools available online help estimate your batch’s strength based on cannabis amount, estimated potency, and total recipe yield. These tools provide starting points, though individual testing remains necessary for accuracy.
Beginning users should start with 5-10mg THC doses, waiting at least two hours before considering additional consumption. This “Start Low, Go Slow“ approach prevents the anxiety and discomfort associated with excessive dosing. Even experienced users benefit from testing new batches before consuming full portions.
| Experience Level | Starting Dose | Wait Time | Duration |
|---|---|---|---|
| Beginner | 5-10mg | 2 hours | 4-6 hours |
| Intermediate | 10-15mg | 90 minutes | 6-8 hours |
| Experienced | 15-25mg | 60 minutes | 6-10 hours |
How long do edibles take to work? Effects typically begin within 45 minutes to 2 hours, depending on several factors. Empty stomachs speed absorption, while recent meals slow it down. Individual metabolism, body weight, and tolerance all influence onset timing and intensity.
“The biggest mistake I see with edibles is people not waiting long enough. Your liver needs time to process the THC, and that can take up to two hours on a full stomach.” – Dr. Dustin Sulak, cannabis physician
Edible effects last considerably longer than smoking – often 4-8 hours for full experiences. This extended duration makes them excellent for consistent relief but requires planning around activities and responsibilities. Never drive or operate machinery after consuming cannabis edibles.
Peak effects usually occur 2-4 hours after consumption, gradually tapering over the following hours. Some people experience residual effects the following day, particularly with higher doses. Keep this timeline in mind when planning your edible consumption.
Individual factors significantly impact how edibles affect you. Body composition, metabolism speed, and even genetics influence your response. What works perfectly for one person might be too strong or weak for another, emphasising the importance of personal testing and adjustment.
Essential Tips for Successful Edible Making & Storage
Common mistakes can turn promising batches into disappointing failures. The most frequent errors include:
- Insufficient decarboxylation
- Overheating during infusion
- Uneven mixing creating unpredictable dosing
- Not testing small portions first
- Using low-quality ingredients
How to make edibles successfully requires avoiding these pitfalls. Insufficient decarboxylation tops the list – many beginners skip this step or rush through it improperly. Take time to ensure complete activation of your cannabis before moving to infusion.
Overheating during infusion destroys the compounds you’ve worked to activate. Maintaining patience with low temperatures pays dividends in final potency and flavour. If your mixture bubbles vigorously or develops a dark colour, reduce heat immediately.
Uneven mixing creates unpredictable dosing throughout your batch. Some pieces might contain little to no cannabis compounds while others pack concentrated amounts. Thorough stirring at every stage prevents this frustrating inconsistency.
Testing small portions before consuming full servings provides valuable information about your batch’s actual strength. Cut a small piece and wait the full onset time before evaluating effects. This practice prevents overconsumption and helps gauge successful recipes.
Quality ingredients make noticeable differences in final products. BudBuddies provides consistently potent cannabis flowers that eliminate much of the guesswork in edible making. Their premium strains offer reliable starting points for calculating dosages and expected effects.
Fresh ingredients throughout your recipe contribute to better flavours and longer shelf life. Check expiration dates on butter, oils, and other perishables before beginning your infusion process. Stale ingredients can introduce off-flavours that no amount of cannabis can mask.
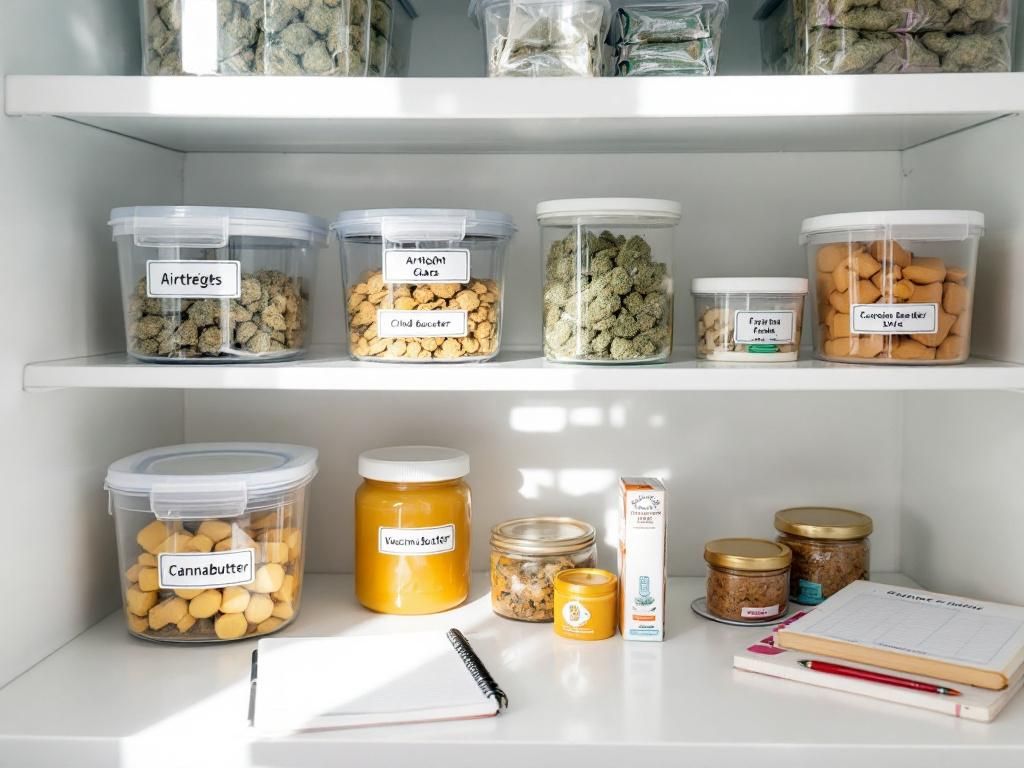
Proper storage extends your edibles’ lifespan and maintains potency. Storage guidelines include:
- Use airtight containers to prevent moisture loss
- Refrigerate products containing dairy or fresh ingredients
- Label with creation date, potency, and ingredients
- Store away from children and pets
- Use child-resistant containers
Keep all cannabis edibles away from children and pets. Many edibles look identical to regular treats, creating serious safety concerns. Use child-resistant containers and store them in secure locations away from curious hands and paws.
“Edibles are involved in a disproportionate number of cannabis-related emergency room visits, almost always due to overconsumption. Education about proper dosing is crucial.” – Dr. Andrew Monte, emergency medicine physician
Experimentation leads to better recipes over time. Try different cannabis strains to explore varying effects and flavours. Adjust infusion times, temperatures, and ratios based on your results. Each batch teaches valuable lessons for improving future creations.
Conclusion
Making your own edibles combines culinary creativity with precise technique. The process rewards attention to detail with consistent, potent results that rival any commercial product. Remember the fundamental steps: proper decarboxylation activates your cannabis, careful infusion binds compounds to fats, and thorough mixing ensures even distribution.
Starting with quality cannabis from BudBuddies provides the foundation for exceptional homemade edibles. Their premium flowers deliver reliable potency that makes dosage calculation more predictable. Combined with proper technique, these quality inputs create edibles you can trust and enjoy.
The “start low, go slow” principle cannot be emphasised enough. Edibles affect everyone differently, and patience prevents uncomfortable overconsumption experiences. Begin with conservative doses and gradually adjust based on your individual response.
Enjoy exploring the world of cannabis cooking while prioritising safety and responsibility. With practice, you’ll develop the skills to create delicious, potent edibles that suit your exact preferences and needs.
Frequently Asked Questions
How long do homemade edibles last?
Storage conditions determine shelf life significantly. Cannabutter and canna-oils keep for several months when refrigerated in airtight containers. Baked goods like brownies last 3-5 days at room temperature, extending to 2 weeks refrigerated or 3 months frozen. Always check for signs of spoilage before consuming older homemade edibles.
Can I use cannabis trim or shake instead of flower?
Trim and shake work perfectly for edible making, though you’ll need larger quantities to achieve the same potency as premium flower. These alternatives often cost less, making them budget-friendly options for regular edible makers. Decarboxylate trim and shake using the same time and temperature guidelines as flower.
Why didn’t my edibles work?
Several factors can cause ineffective edibles. Incomplete decarboxylation prevents activation of cannabis compounds, while excessive heat during infusion or baking destroys them. Insufficient mixing creates uneven distribution, and some batches simply contain less cannabis than expected. Review each step carefully and consider testing with smaller amounts first.
Is it better to use butter or oil for infusions?
Both options work effectively, each offering distinct advantages. Coconut oil’s high saturated fat content binds cannabinoids more efficiently, while butter provides rich flavour ideal for baked goods. Olive oil suits savoury applications and offers health benefits. Choose based on your intended recipes and personal preferences rather than effectiveness alone.


