How to Make Cannabis Butter (Easy Home Guide)
Introduction
Learning how to make cannabis butter is a lot like learning to bake bread. The first time feels technical and a bit intimidating, but once it works it turns into a comforting, repeatable ritual. When I first experimented with homemade cannabutter, I realised very quickly that the real magic is control. I could decide the strength, the flavour, and exactly which strains went into my brownies or pasta.
At a glance, all the talk about decarboxylation, infusion temperatures, and dosing can look overwhelming. The good news is that each step is simple when you take it on its own. With a baking sheet, decent butter, and quality flower, anyone can learn how to make cannabis butter that tastes good and feels consistent from batch to batch.
In this guide I walk through everything I actually do at home. That means picking strong, clean cannabis, activating it properly, slowly infusing it into fat, straining it, and then working out a sensible dose. I also lean on premium strains like Gelato and Blueberry Haze from BudBuddies, because I have learned the hard way that weak, scrappy flower makes weak, grassy butter. By the end, you should feel confident about making cannabis butter safely, storing it, and using it in both sweet and savoury recipes.
As with any edible, it helps to plan your timing and surroundings so you can relax while you wait for it to kick in.
Key Takeaways
Decarboxylation must come first. Gentle heat turns THCA and CBDA into active THC and CBD. Skip this step and the butter will feel almost the same as regular butter.
Low, steady heat during infusion protects cannabinoids. I keep the mix below 200°F (about 93°C). Higher heat can burn the butter and reduce strength.
Quality cannabis and fat change everything. Good flower and high‑fat butter or coconut oil create stronger, better‑tasting infusions. Cheap shake and bargain butter usually give thin, bitter results.
Dosing slowly keeps nights pleasant. I like to start at 5 milligrams or less per serving. It is always easier to eat a little more later than to wait out an uncomfortable high.
Proper storage stretches the life of each batch. Cannabutter keeps for weeks in the fridge and months in the freezer. A clearly labelled, airtight container avoids mix‑ups in the kitchen.
BudBuddies offers premium strains and CBD isolate that work well for home infusions. That makes it easy to stock up on reliable starting material and focus on learning how to make cannabis butter properly.
What You Need For Tools, Ingredients And The Right Cannabis
Before I touch the oven dial, I like to set everything out on the counter. When someone is learning how to make cannabis butter for the first time, this simple prep step prevents mid‑process stress. The bonus is that most of what you need already lives in a normal kitchen.
Basic kitchen tools do most of the work. I use a baking sheet lined with parchment paper for decarboxylation, plus a saucepan or slow cooker for the infusion stage. A wooden spoon, a fine‑mesh strainer, and an airtight glass jar finish the job. A small kitchen thermometer is not flashy, but it helps keep temperatures in the sweet spot.
Fat choice matters more than people expect. Unsalted, higher‑fat butter gives a rich flavour and carries cannabinoids well. Coconut oil is great when I want a vegan batch or longer shelf life, while olive oil shines in savoury dishes like infused dressings or pasta. Whatever I pick, I stick with something I already enjoy eating on its own.
Cannabis quality is just as important as the butter itself. Old, leafy trim often brings harsh, grassy notes and lower strength. I reach for neat, resinous buds with clear lab info on THC and CBD, like the Gelato, Amnesia, or Blueberry Haze strains from BudBuddies. When I want a non‑psychoactive option, BudBuddies CBD isolate powder mixes cleanly into warm fat and gives precise control over the final effect — and research on the impact of hemp flour on nutritional and functional characteristics of baked goods highlights how hemp-derived ingredients can meaningfully change a recipe’s profile.
A quick word on matching flavours helps a lot too. Citrus‑heavy strains sit nicely in lemon cakes or fruit loaves, while earthy or peppery flower works better in garlic bread or herb butter for steak. BudBuddies also makes it easier to stock up for experiments, with bundle packs, ounce specials, BudCash rewards, and BudPoints that reward repeat orders. With the right gear and ingredients in hand, the practical side of learning how to make cannabis butter feels far less intimidating.
Step 1 — Decarboxylation And Why It Is Non‑Negotiable
Raw cannabis does not behave the way most people expect when they first learn how to make cannabis butter. Fresh flower is rich in THCA and CBDA, which are acidic forms that do very little in the body. To feel classic THC and CBD effects in an edible, those acids need a nudge from heat so they shed a tiny part of their structure. That change happens during decarboxylation.
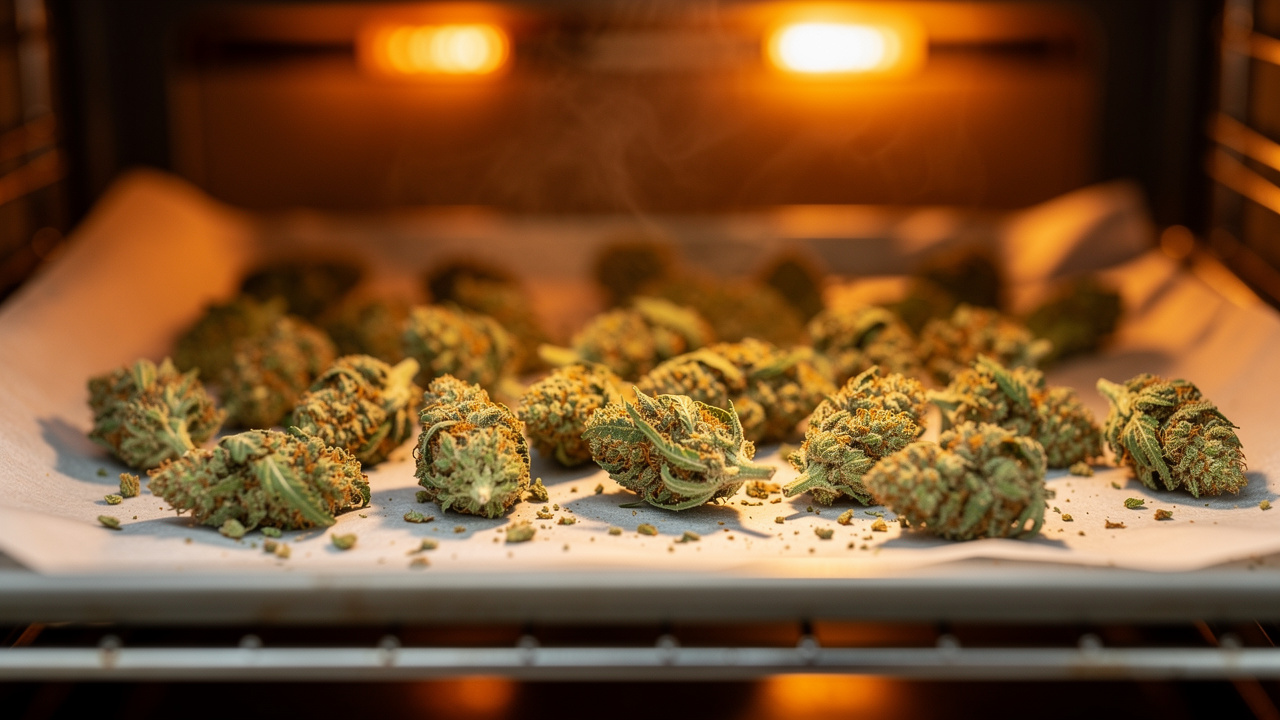
For oven decarboxylation I preheat to somewhere between 220°F and 245°F (about 105–120°C). Lower heat takes a little longer but protects more of the natural smell and flavour. While the oven comes up to temperature, I break my buds into popcorn‑sized pieces with my fingers. I avoid grinding now, because fine crumbs can burn easily and later slip through the strainer into the butter.
Next I spread the pieces in a single layer on a parchment‑lined baking sheet. If I want to cut the smell, I loosely tent the tray with foil and poke a few small holes so steam can still escape. The tray sits on the middle rack, and every 10 minutes I gently stir the cannabis so all sides see the same amount of heat. Depending on how fresh and sticky the flower is, the total time usually falls between 25 and 45 minutes.
Visual cues matter more than the timer. Once the bright green colour softens into a toasted brownish green and the room smells a little nutty rather than raw and sharp, I know the job is almost done. I pull the tray, let everything cool to room temperature, and only then bring out the grinder. A medium‑coarse grind, similar to dried oregano, gives a great balance between surface area and easy straining when I move on from decarboxylation to the next step in learning how to make cannabis butter.
For hemp flower aimed at CBD‑heavy butter, BudBuddies guidance suggests heating around 115°C for 30–45 minutes. I still use a thermometer here, because I have seen how a steady, accurate oven early on sets the tone for a smooth infusion and predictable effects later.
Step 2 — Infusing And Straining Your Cannabutter
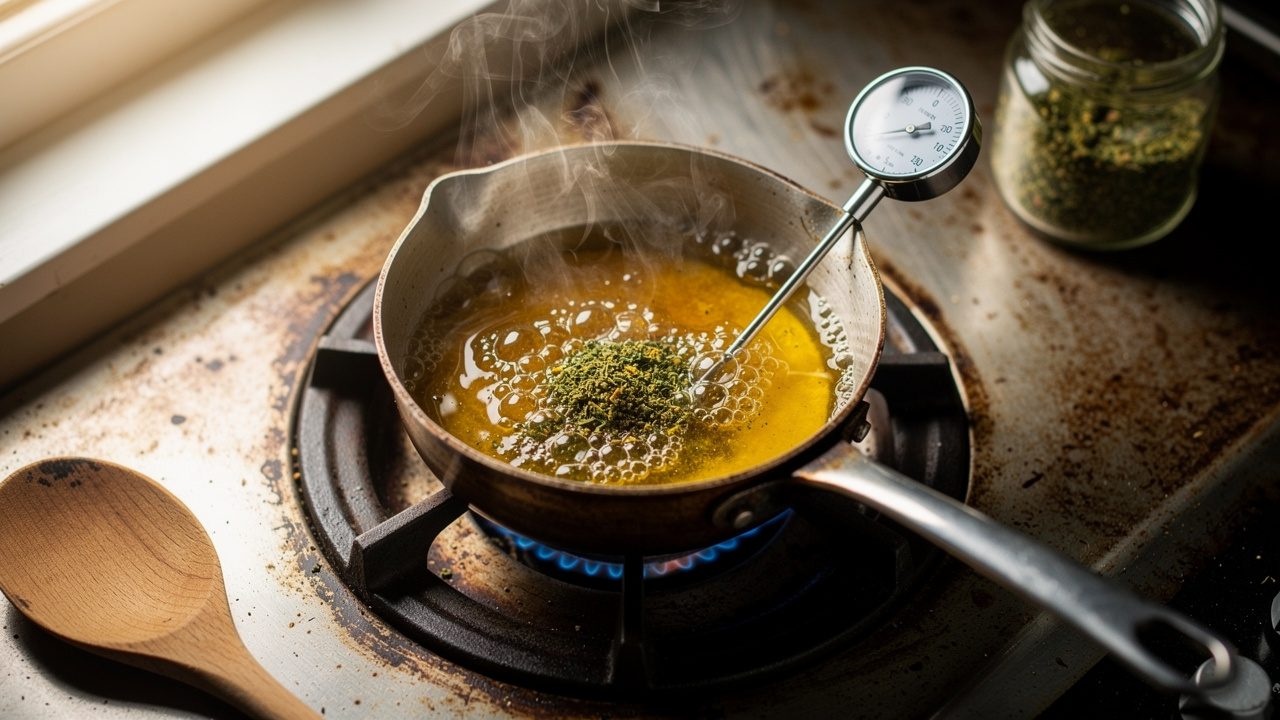
Once decarboxylation is complete, the real heart of how to make cannabis butter begins. The goal now is simple: move those active cannabinoids from the plant material into the fat without burning anything or boiling off flavour. For that reason I keep the mixture below 200°F (about 93°C) at all times.
Here are three reliable infusion methods I use at home:
Stovetop Cannabutter
For a classic stovetop batch I combine my butter, 1–1.5 cups of water, and the ground, decarboxylated cannabis in a small saucepan. I set the burner to its lowest setting and watch the thermometer until the mix settles around 180°F (about 82°C). After that I mostly leave it alone, giving a slow stir every half hour. One to four hours on this gentle heat is enough, and the water acts like a safety buffer that stops the butter from catching on the bottom.Slow Cooker Cannabutter
When I want a hands‑off approach, I reach for a slow cooker. I add melted butter and decarbed cannabis straight into the crock, sometimes tying the plant material into a small cheesecloth bundle so straining is easier later. Then I set the cooker to low or warm, place the lid on, and let it infuse for 4–8 hours. The temperature stays stable by design, which helps anyone still getting comfortable with making cannabutter at home.Sous Vide Cannabutter
Sous vide is my choice when I need the process to be as discreet as possible. I seal the butter and cannabis into a heat‑safe bag or glass jar, then place it into a water bath held at about 185°F (around 85°C) by an immersion circulator. After roughly 4 hours the cannabinoids are well bonded to the fat, and almost no smell escapes the closed container.
CBD isolate works a little differently. With BudBuddies isolate powder I warm plain butter on low heat, then sprinkle the powder in slowly while stirring for 10–15 minutes. Sometimes I pre‑melt a spoon of coconut oil, dissolve the powder fully in that, and then blend it into the rest of the fat. Either way, the goal is even distribution so every spoonful of CBD butter feels the same.
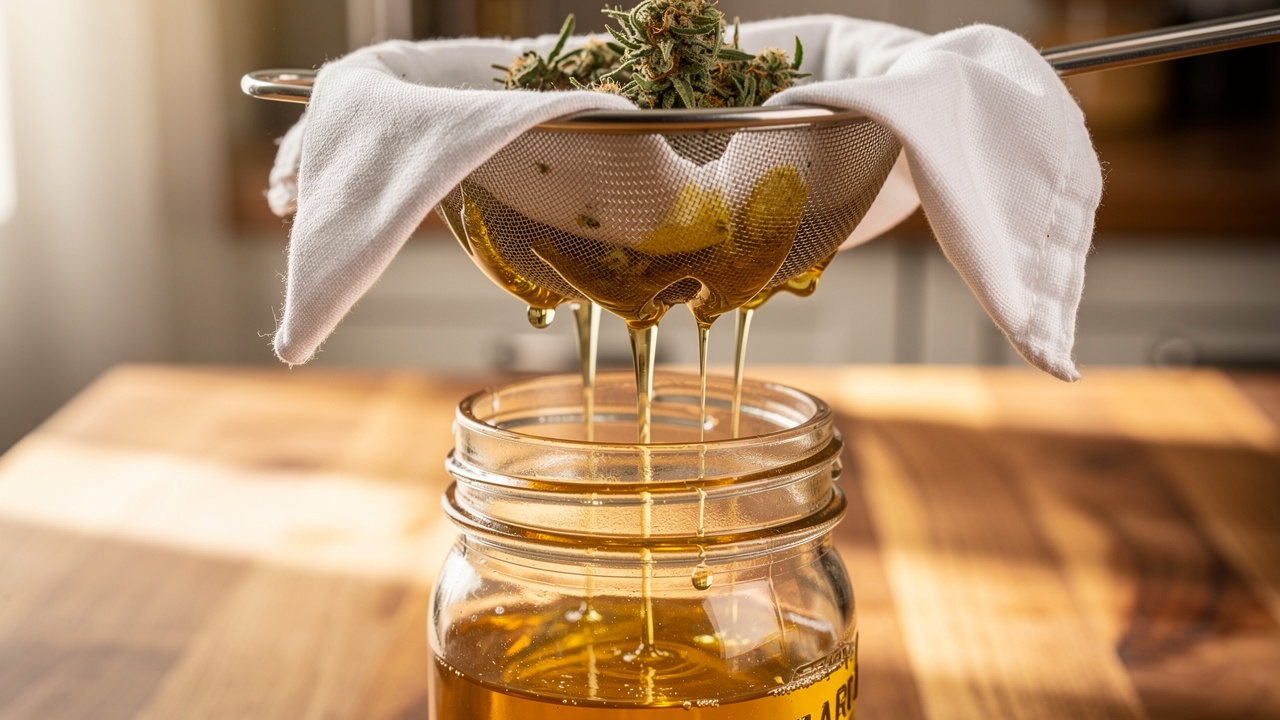
When infusion time is up, I take the pan or jar off the heat and let the mixture cool until it is safe to handle. I set a fine‑mesh strainer over a clean glass jar, often with a layer of cheesecloth on top, and pour the liquid through. I let gravity drain it rather than squeezing, because pressing the plant matter pushes extra chlorophyll into the butter and gives a sharper taste. If I used water in the mix, I chill the jar in the fridge until the butter hardens, then lift off the solid disk and pour away the water trapped underneath.
Dosing, Storing, And Using Your Homemade Cannabutter
Learning how to make cannabis butter is only half the story. The other half is using it in a way that feels enjoyable rather than overwhelming. Edibles move through the body more slowly than smoke or vapour — research on different edibles, different effects shows their effects creep in over 30 minutes to 2 hours and can last several hours after that.
As many cannabis educators like to say, “Start low and go slow” with edibles, because once you eat a dose, you cannot take it back.
This is why that simple rule is so helpful.
To estimate strength, I use a straightforward bit of maths:
Multiply the grams of cannabis used by the THC percentage (written as a decimal) and then by 1,000.
Example: 10 g of 20% THC flower → 10 × 0.20 × 1,000 = 2,000 mg THC.
Assume some potency is lost during decarboxylation and infusion, and take around 80% of that number as a working figure.
In the example above: 2,000 mg × 0.8 = 1,600 mg THC in the whole batch.
Divide by the total tablespoons of butter in the batch to get a ballpark milligram count per tablespoon.
If that batch made 16 tablespoons, each tablespoon is roughly 100 mg THC.
From there you can scale down to the dose you prefer, such as 5–10 mg per serving.
From there it is easy to match a recipe to a sensible dose. If a brownie recipe uses ½ cup of butter and yields 16 portions, I decide how strong I want each square to be, then work backward. If the cannabutter is too strong for that plan, I simply mix it with regular butter until the numbers line up. I still taste‑test a small amount, around ¼–½ teaspoon, and wait at least 2 hours before sharing the batch, especially when someone is new to edibles.
Good storage habits keep all that effort from going to waste. In the fridge, tightly sealed cannabutter usually stays fresh for roughly 2 weeks. In the freezer it can hold its strength and flavour for several months. I always label the container with the strain, an estimated dose per tablespoon, and the date so nobody mistakes it for regular butter during a late‑night snack raid.
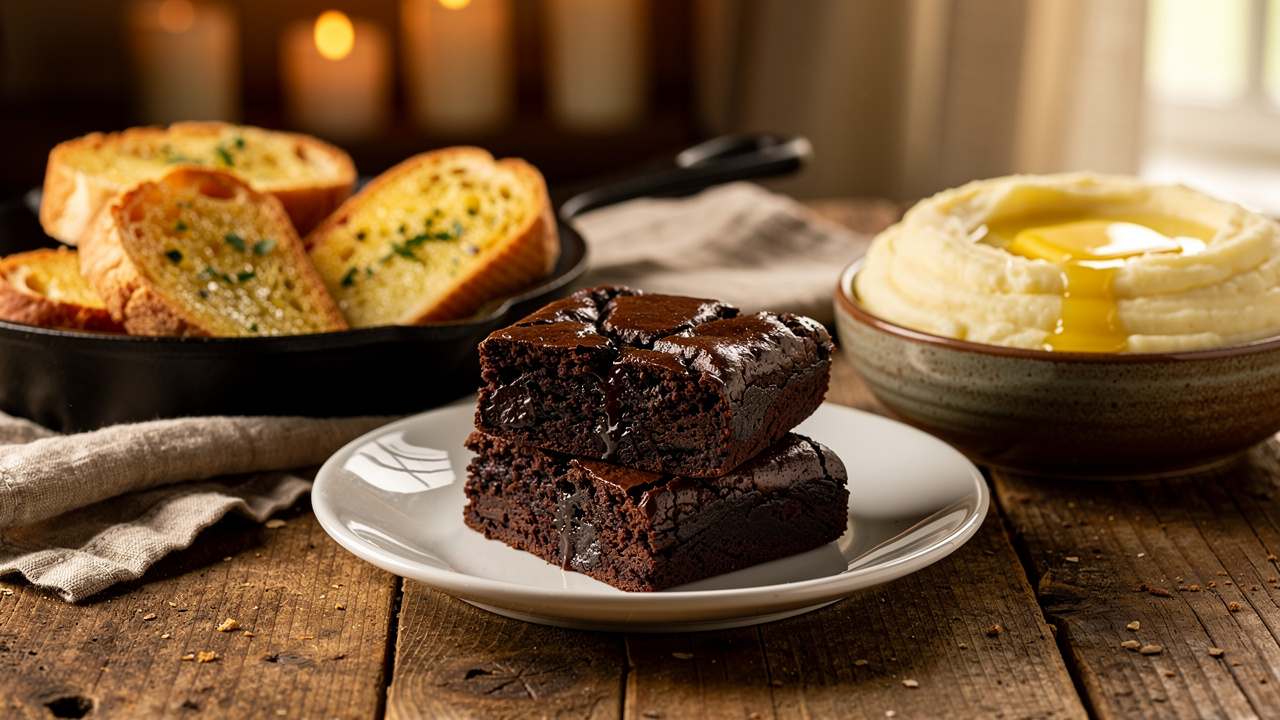
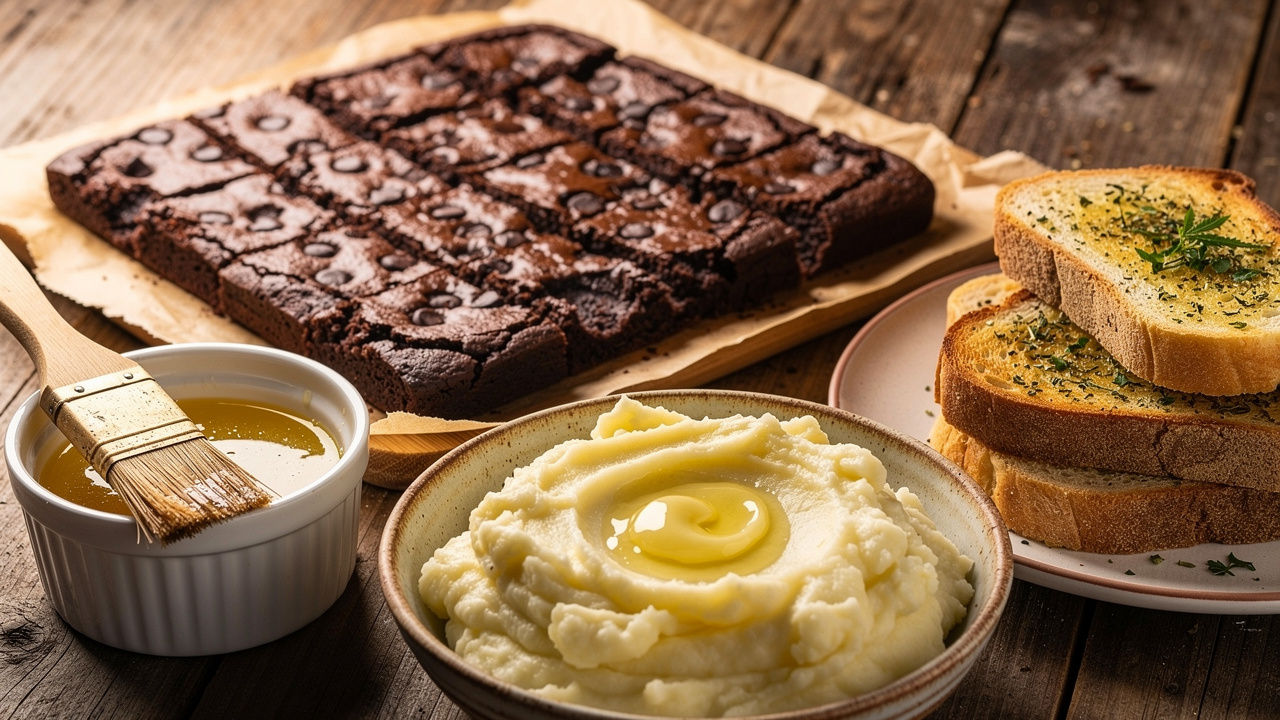
Using the butter is the fun reward after learning how to make cannabis butter properly. Almost any recipe that calls for butter or oil can be adapted, from chocolate chip cookies and brownies to mashed potatoes and garlic bread. Rich flavours such as chocolate, spices, coffee, and roasted garlic tend to blend especially well with the herbal notes of cannabis.
Some simple ways I like to use cannabutter are:
Stirred into mashed potatoes or creamy polenta
Melted over garlic bread or roasted vegetables
Baked into brownies, cookies, or banana bread
Swirled into pasta sauces or finishing sauces for steak or fish
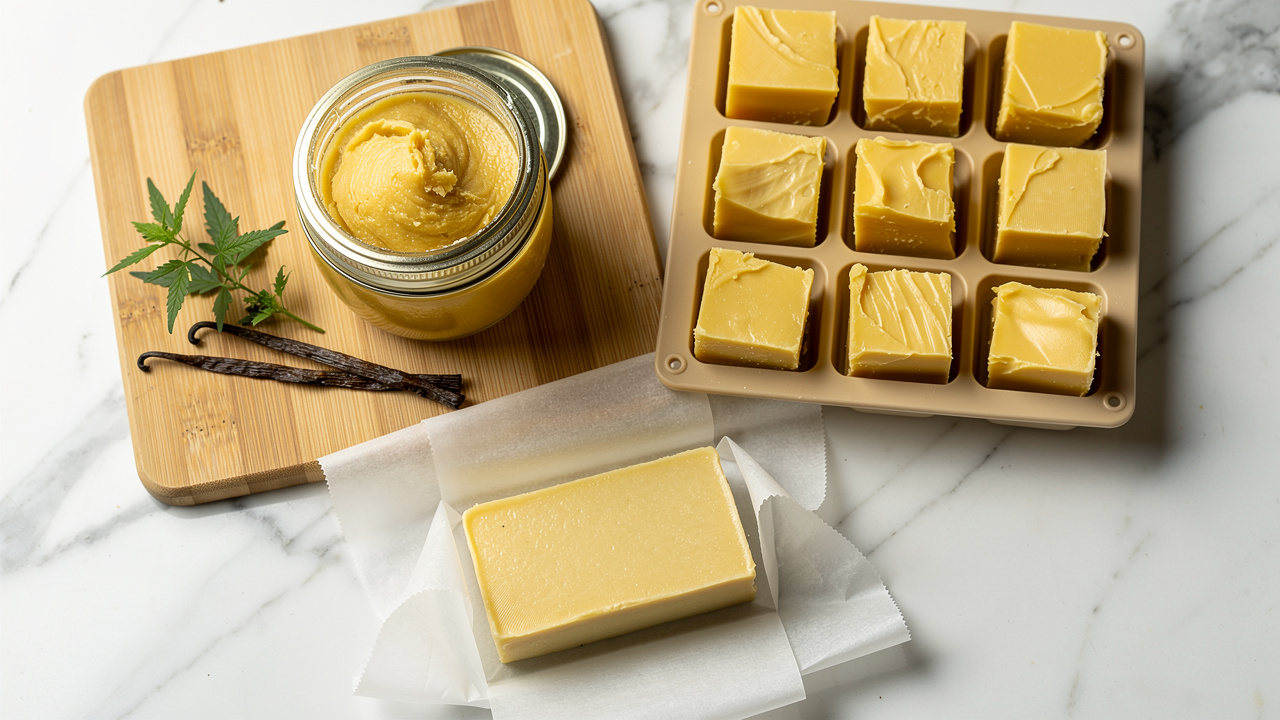
One of my favourite habits is freezing the cannabutter in an ice cube tray, because each cube acts as a ready‑to‑use, pre‑dosed block I can drop straight into a pan or mixing bowl.
Conclusion
Once I understood the simple building blocks behind how to make cannabis butter, the process stopped feeling like a secret trick and started feeling like normal home cooking. Strong, clean starting material, careful decarboxylation, gentle infusion, and thoughtful dosing all work together. None of these steps are hard on their own, and they add up to butter that tastes good and behaves predictably.
I always suggest starting with a small test batch before scaling up. That way there is room to adjust grind size, infusion time, or strain choice without wasting a lot of flower. Whether the plan is a THC‑heavy batch with Gelato or Blueberry Haze, or a calm CBD‑only version using BudBuddies isolate powder, the brand’s discreet, tracked delivery makes stocking the pantry simple. With a bit of patience, anyone can master how to make cannabis butter and fold it into their favourite recipes.
FAQs
Do I Need To Decarboxylate Cannabis Before Making Cannabutter?
Yes, decarboxylation is essential when learning how to make cannabis butter that actually works. Raw cannabis is rich in THCA and CBDA, which do very little in edible form. Heating the flower in the oven converts these into THC and CBD. Using a low oven, roughly 220–245°F (about 105–120°C), is the most reliable way to activate cannabinoids before infusion.
How Long Does Homemade Cannabutter Last?
In the refrigerator, cannabutter usually keeps for up to 2 weeks when stored in an airtight container. For longer storage I move it to the freezer, where it can sit for several months without much change in strength. Freezing in small portions, such as an ice cube tray, makes it easy to grab a single piece for a recipe without thawing the whole batch.
Can I Use CBD Isolate Powder To Make Cannabutter?
Yes, CBD isolate is a great option for people who want to know how to make cannabis butter without a high. BudBuddies CBD isolate powder is lab tested and mixes cleanly into warm butter or oil. I either sprinkle it slowly into melted fat while stirring for 10–15 minutes or pre‑dissolve it in a spoonful of coconut oil first. Both methods help spread the CBD evenly through the batch.
What Is The Best Cannabis Strain For Making Cannabutter?
There is no single best strain for everyone, but high‑quality flower always beats dusty shake when learning how to make cannabis butter. I look at THC and CBD levels, then think about flavour. BudBuddies strains such as Gelato, Amnesia, and Blueberry Haze are popular because they offer steady potency, strong terpene profiles, and neat trimming with little extra leaf. That combination leads to butter that is both tasty and reliable in recipes.