How to Use a Dry Herb Vape: Simple UK Guide
Introduction
Learning how to use a dry herb vape properly is one of the easiest ways to upgrade every cannabis session. The device might look technical at first glance, but once the basics click, it becomes simple and repeatable. A few good habits give smoother vapour, better flavour, and more value from every bowl.
A dry herb vape heats cannabis flower to a set temperature so the cannabinoids and terpenes turn into vapour, without actually burning the plant. That means no smoke, no ash, and none of the harsh by-products that come with combustion. You get a cleaner inhale, clearer taste, better control over the effects, and you usually need less herb than with smoking.
This guide walks through how to use a dry herb vape step by step, from first charge to cleaning. It works whether this is your first vape or you already own a couple and want to get more from them. Along the way, you will see how premium devices from BudBuddies, like the BudBuddies Elite Pro, make everything easier with precise controls and thoughtful design. By the end, you will know exactly how to use a dry herb vape with confidence, and what to look for when you are ready to explore the curated range at budbuddies.cc.
What Is A Dry Herb Vape And How Does It Work?
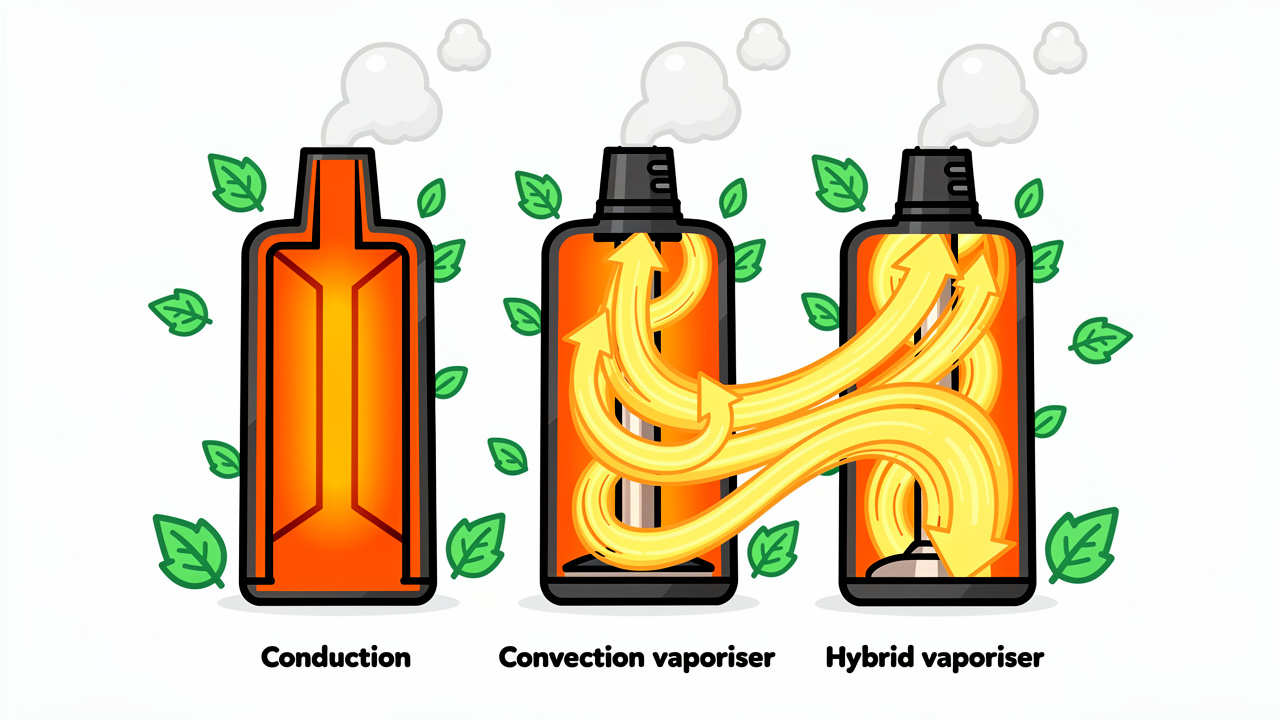
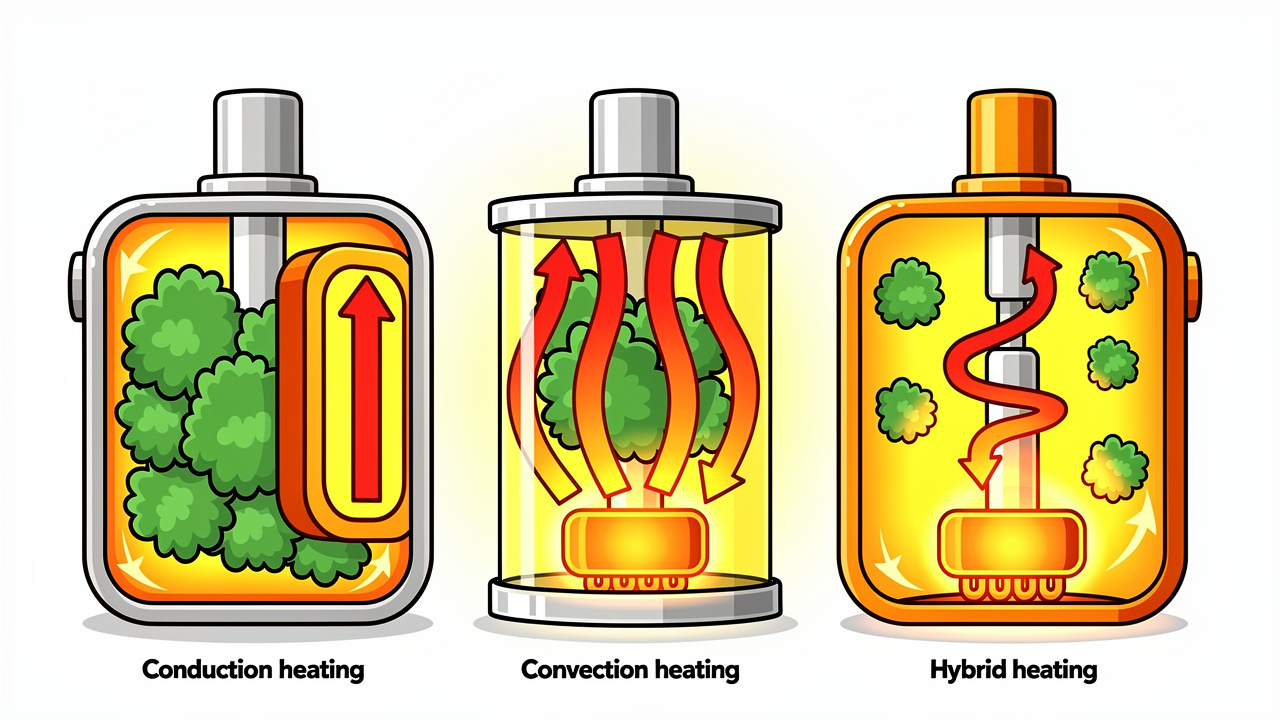
Before getting into how to use a dry herb vape, it helps to understand what the device is actually doing. Instead of setting your flower on fire, a vape warms it to a controlled temperature where cannabinoids and terpenes evaporate into vapour. You inhale those active compounds, but the plant matter never reaches the point where it burns.
This matters for three main reasons:
The vapour feels gentler on the throat than smoke.
You taste the real character of the strain, rather than a burnt edge.
You tend to get more out of the same amount of herb, because it is heated in a more controlled way instead of being turned to ash.
Most portable dry herb vapes heat in one of three ways.
Conduction heating warms the walls of a small oven, and your ground herb sits directly against that hot surface. These vapes usually heat up fast and can be more compact and affordable. The trade-off is that herb touching the metal or ceramic cooks quicker than the rest, so you may need to stir the bowl mid-session to keep things even.
Convection heating works more like a fan oven. The device heats the air, then pulls that hot air through the packed chamber. Because the herb never touches the heater directly, it cooks more evenly and the flavour often feels cleaner and brighter. Convection vapes can take a little longer to warm up and are often a bit bigger.
Hybrid heating combines both methods. The oven warms up quickly like a conduction vape, while heated air still moves through the bowl for more even extraction. The BudBuddies Elite Pro uses this hybrid style, paired with precise temperature control and a clear OLED display, so you always know exactly what the device is doing.
Key parts you will see on most vapes are the heating chamber, a rechargeable battery, a mouthpiece and vapour path, plus temperature controls and, on better models, a simple LED or OLED screen.
A dry herb vape does not burn your flower — it gently brings out its best.
How To Use A Dry Herb Vape — Step By Step
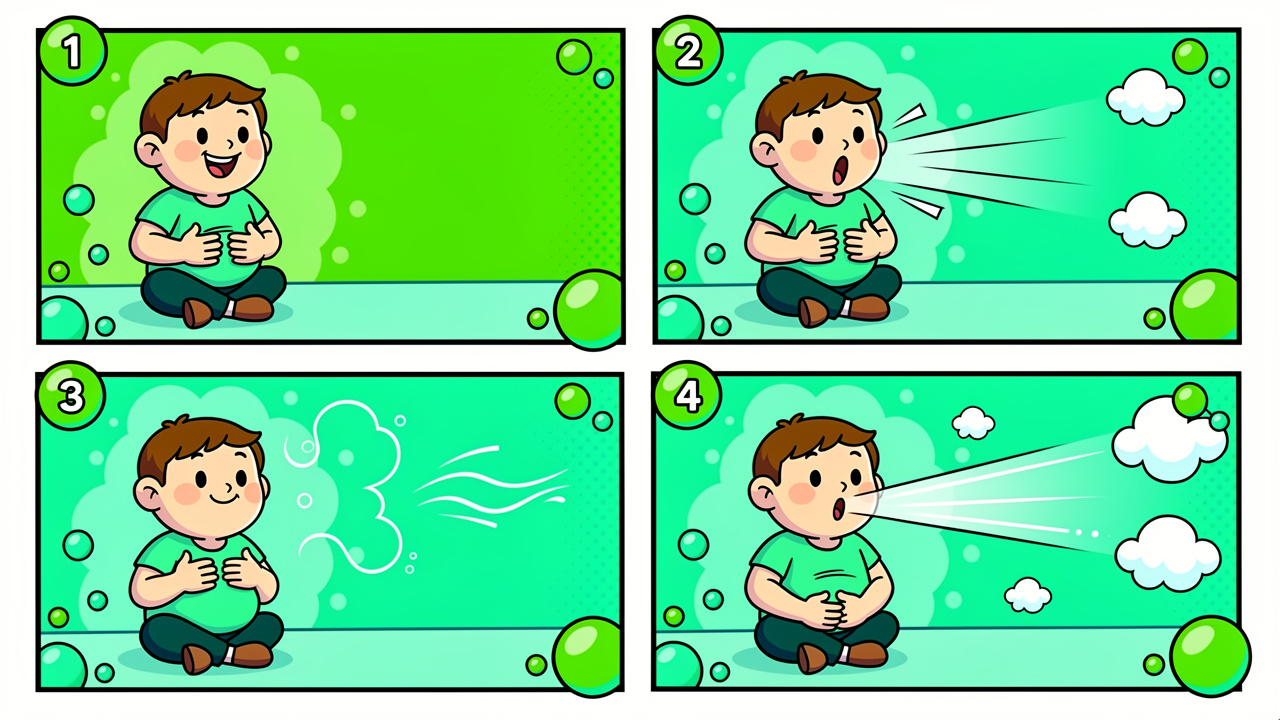
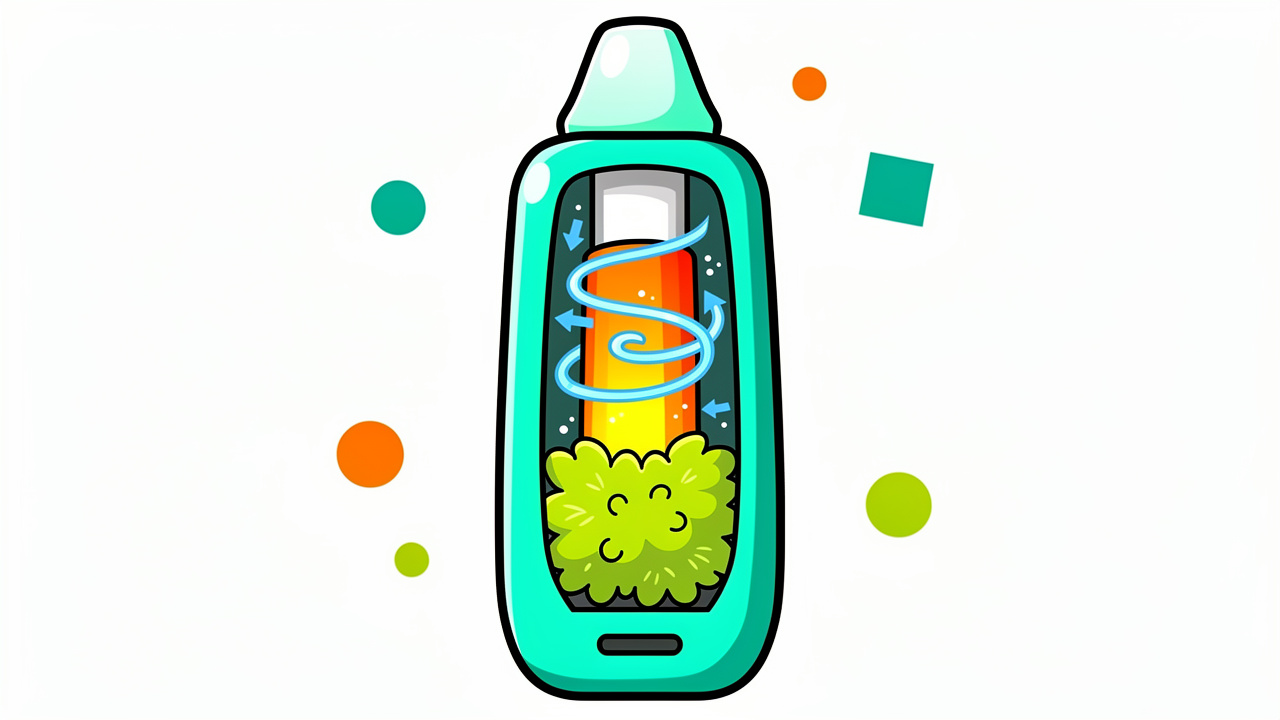
Once you know the basics, learning how to use a dry herb vape is all about a simple routine. Before you even load any flower, there are two quick jobs that set you up for a better time:
Charge your vape fully out of the box. A full charge helps the battery settle in and stops it dying halfway through that first session. Most devices show a battery icon on the screen or flash a light when they are ready. Starting your routine this way is an easy win that many people skip.
Run a short “burn-off” cycle. Leave the chamber empty, set the vape to its highest temperature, and let it run for a full heat cycle. This cooks off any tiny factory oils or dust from the oven and vapour path, so your first real hit tastes like flower, not manufacturing.
Now you are ready to follow this simple sequence.
Grind your herb to a medium-fine texture. You want pieces that are fluffy and even, not chunky and not like powder. A decent grinder does a much better job than fingers, which crush trichomes and give uneven pieces. For the best flavour, only grind what you plan to use in that session.
Open the chamber and load it gently. Sprinkle the ground herb in until the oven is full, then tap it down very lightly so it sits snug but springy. Packing too tight chokes the airflow and makes it hard to draw. Packing too loose lets the herb move around and leads to thin, patchy vapour.
Set your temperature. If you are still getting used to how to use a dry herb vape, start at about 180°C. This sits in the middle of the range, giving a good mix of flavour and effect. On a device like the BudBuddies Elite Pro, you can nudge this up or down one degree at a time using the on-board controls.
Let the vape heat up. Most portable vapes take between 20 and 60 seconds to reach temperature. Many will vibrate, beep, or change the light colour when they are ready. Waiting an extra few seconds after the ready signal often gives a more consistent first draw.
Use a slow, steady inhale. Think of sipping a thick milkshake rather than ripping a joint. Take a smooth draw for about 8–12 seconds, then inhale into your lungs and exhale normally. There is no need to hold the vapour in; your body absorbs what it needs very quickly.
Adjust as you go. If the vapour feels too light, raise the temperature in small steps of 5°C and take another draw. If it feels hot or harsh, ease the temperature down or slow your inhale a little. This is where you really feel the benefit of learning how to use a dry herb vape with intention, instead of guessing.
Watch for the end of the session. Over a few minutes, flavour will shift from bright and strain-specific to more like toasted popcorn. Visible vapour will thin out even at higher temperatures. When both happen and the herb in the chamber has turned an even light to medium brown, that bowl is spent. The leftover material is AVB (Already Vaped Bud), which many people keep for homemade edibles.
Empty and brush the chamber while it is still warm. Tip out the AVB into a container if you plan to save it, then use the small brush that came with the vape to sweep the oven clean. This takes seconds and stops sticky build-up from forming over time.
Follow this routine a few times and how to use a dry herb vape will soon feel natural. The more consistent your steps, the more consistent your results.
Mastering Temperature Control
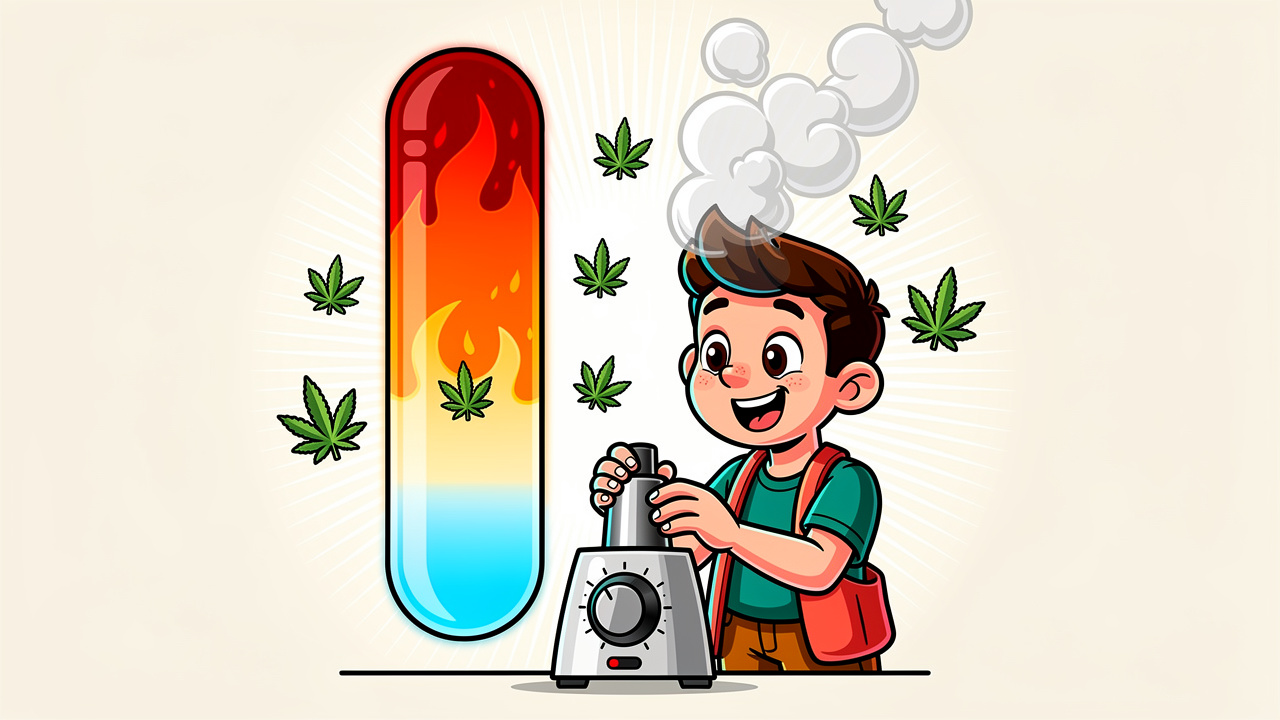
Once you are comfortable with how to use a dry herb vape, temperature control becomes the main way to shape each session. Small changes in heat alter how strong the effects feel, how thick the vapour looks, and how much flavour you notice. Learning the ranges makes it easy to set your preferred style.
“Start low and go slow” is a common rule of thumb among experienced vapers, and it fits temperature settings just as well as dosage.
160°C–180°C (Low) keeps things terpene-led and gentle. Vapour at this level is light, smooth, and full of flavour, with effects that feel clear-headed and functional. Many people choose this range for daytime use or when they want to stay sharp while still enjoying their favourite strain.
180°C–200°C (Medium) is the sweet spot for most people. Flavour is still present, but vapour gets denser and the effects become more rounded in both body and mind. This range is ideal for relaxed evenings, social sessions, and day-to-day use when you want a balanced experience.
200°C–220°C (High) gives maximum extraction and the heaviest effects. Vapour is thick and cloudy, and the feeling leans towards deep body relaxation. Flavour becomes more roasted and less delicate at this point, so many people keep this range for later in the day or when they want something strong.
A handy trick once you know how to use a dry herb vape is temperature stepping. Start a bowl at the low range to enjoy the best flavour, then step up in 5–10°C increments through the medium and, if you like, into the high range. This lets you enjoy bright terpenes at the start and still make full use of the herb by the end.
Devices with precise control, like the BudBuddies Elite Pro, make this easy with single-degree adjustments and an OLED screen. A simple way to begin is to start at 180°C, pay attention to how that feels, then adjust slightly over a few sessions until you find the number that matches what you want.
How To Keep Your Dry Herb Vape Clean And Performing Well
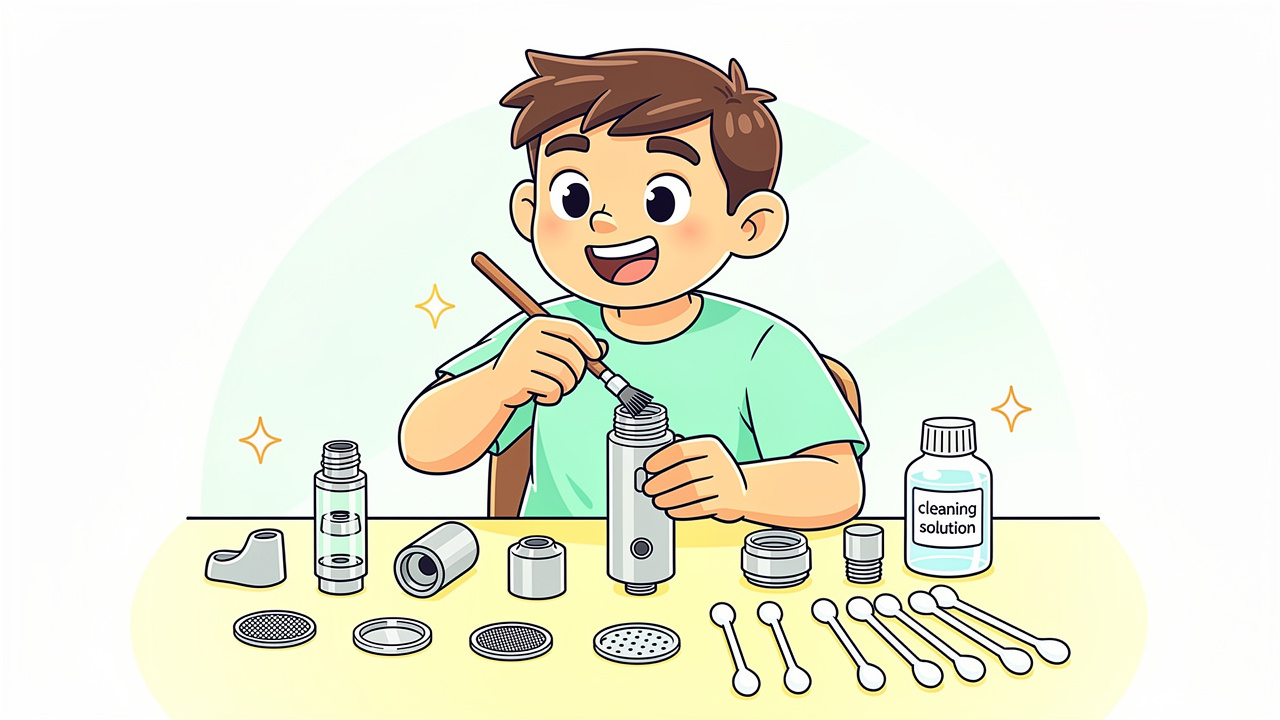
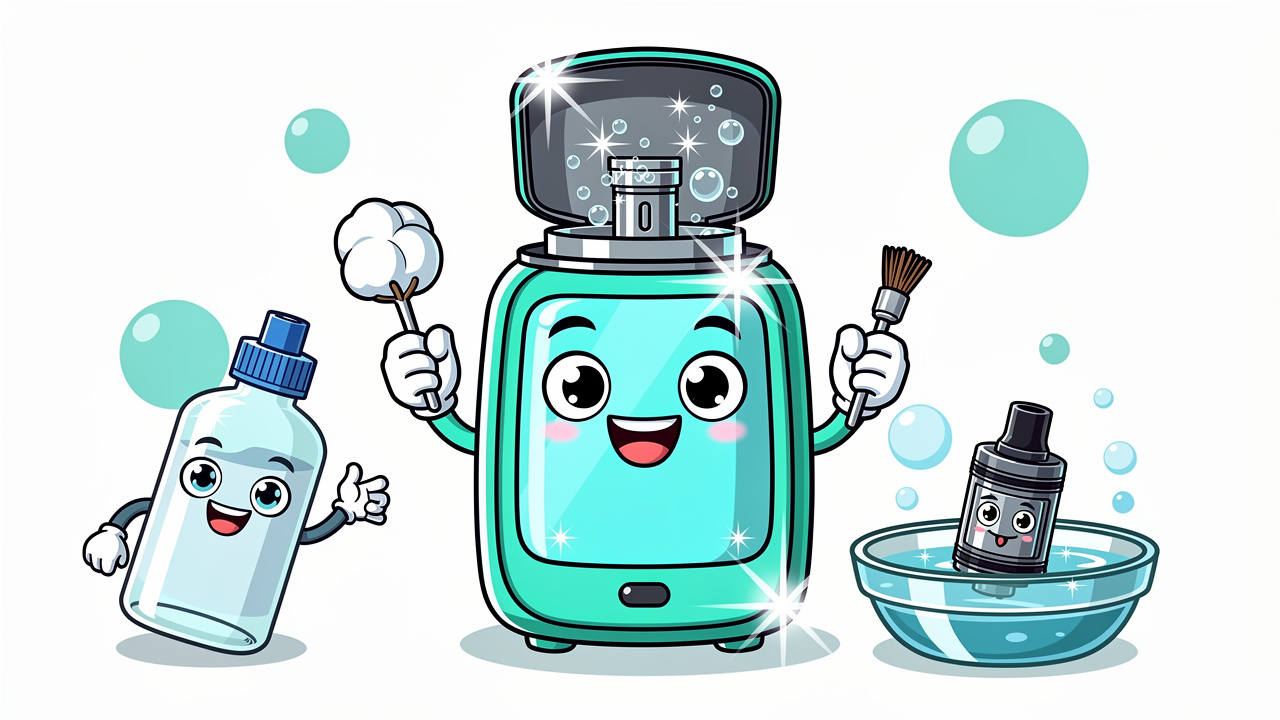
No matter how well you learn how to use a dry herb vape, it will only feel as good as it is clean. Every session leaves a thin layer of residue in the oven, on the screens, and in the mouthpiece. Left alone, that build-up dulls flavour, blocks airflow, and makes the device work harder than it should.
The easiest way to stay ahead of this is with a simple two-tier cleaning routine, plus a monthly check.
As many long-time vapers like to say, “If the flavour drops, clean the vape before you change the strain or crank the heat.”
A quick clean after every session keeps things fresh. Once the device has cooled a little but is still warm, open the chamber and tap out the AVB. Use the little brush to sweep around the oven, the screen, and the underside of the mouthpiece. This takes less than half a minute and stops residue sticking hard.
A deeper clean once a week, or every couple of weeks with light use, restores like-new performance. Take off all removable non-electronic parts such as the mouthpiece, cooling unit, and loose screens. Soak these in high-strength isopropyl alcohol for 30–60 minutes, then scrub any stubborn spots with cotton buds or pipe cleaners. Swab the inside of the oven with an alcohol-dipped cotton bud while holding the device upside down so liquid cannot run into the electronics. Rinse all soaked parts under hot water and leave them to dry completely before you put the vape back together.
Around once a month, replace the small metal screens and give the heating area a close look. Fresh screens improve airflow and flavour, and a quick inspection lets you spot any issues before they affect performance.
BudBuddies customers can always reach out for device-care advice, with friendly support available seven days a week if anything feels unclear or you want tips for a specific model.
If your vape tastes off and you have not cleaned it recently — that is your answer.
Conclusion
In the end, how to use a dry herb vape well comes down to four simple habits:
Prepare your herb with a good grind and sensible pack.
Set a temperature that matches the kind of session you want.
Use slow, steady draws.
Keep the device clean inside.
Get those right and every bowl feels calmer, tastier, and more consistent than guesswork ever will.
When you are ready to upgrade or pick up your first device, BudBuddies makes the whole process simple. The dry herb vape range at budbuddies.cc, including the BudBuddies Elite Pro, is chosen for performance, flavour and ease of use, with fast dispatch and discreet, tracked delivery across the UK. You also earn points from day one through the BudCash Rewards Programme, so every order helps with the next. With a little practice and the right kit, you will know exactly how to use a dry herb vape for the kind of sessions you actually enjoy.
FAQs
How Long Does A Dry Herb Vape Session Last?
A single packed chamber usually lasts between 5 and 15 minutes. Higher temperatures, bigger hits, and more frequent draws will finish the bowl faster, while gentle, spaced-out sips stretch it out. Most vapes include an auto shut-off after a few minutes, and you can simply turn the device back on if the herb is not yet spent.
What Temperature Should I Set My Dry Herb Vape To?
A great starting point is 180°C, especially when you are still learning how to use a dry herb vape and want a balanced result. Lower settings between 160°C and 180°C keep things lighter and more flavourful, while 200°C to 220°C gives thicker vapour and stronger body effects. Devices like the BudBuddies Elite Pro let you adjust one degree at a time, so you can quickly find your favourite number.
How Fine Should I Grind Herb For A Dry Herb Vape?
Aim for a medium-fine, fluffy grind rather than dust. Pieces that are too fine can slip through the screen and block airflow, while chunky bits heat unevenly and waste some of the flower. A good four-piece grinder gives a consistent texture and makes it much easier to repeat the same pack every time.
How Often Should I Clean My Dry Herb Vape?
Give the chamber a quick brush-out after every session, while it is still slightly warm. This tiny step stops most build-up before it starts. Plan a deeper clean with isopropyl alcohol about once a week, or every two weeks if you vape less often, and replace screens roughly once a month. Regular care keeps flavour sharp and helps the device last longer.