


how to use a dry herb vaporizer
If you’ve just picked up your first vaporiser and you’re not sure where to start, you’re not alone. Knowing how to use a dry herb vaporizer properly makes the difference between harsh, wasted draws and smooth, flavourful sessions that actually deliver.
Most beginners run into the same problems. They pack the chamber too tight, pick a temperature at random, or inhale like they’re smoking a cigarette, and end up with weak vapour or a scratchy throat. None of that means the device is faulty. It usually just means the technique needs a small adjustment.
This guide walks through the whole process in order: grinding and packing your herb, choosing a sensible temperature, inhaling correctly, and keeping your device clean so it keeps performing. We’ll also cover common problems and quick fixes. BudBuddies puts this guide together to help you get confident results from your very first session, whether you’re using a compact portable device or something more advanced like the BudBuddies Elite Pro.
Key Takeaways
Grind your herb to a medium, coarse-sand consistency and pack the chamber loosely so air can move through it freely.
Start your session around 180-190°C, then step the temperature up gradually as the bowl empties.
Inhale slowly over several seconds rather than using quick, smoking-style drags.
Clean the chamber daily and do a deeper clean weekly to protect flavour and extend the device’s life.
A well-designed device, such as the Elite Pro, makes good technique much easier to maintain.
What Is a Dry Herb Vaporizer and How Does It Work?
A dry herb vaporizer is a device that heats dried cannabis flower to a temperature that releases its active compounds without setting the material alight. This sits roughly between 160°C and 220°C, well below the point where combustion happens and smoke is produced, so you get a cleaner vapour instead of smoke.
Devices reach that heat through one of three methods:
Conduction heats the herb through direct contact with a hot surface, which warms up fast but can heat unevenly.
Convection passes hot air through the chamber for a gentler, more even result.
Hybrid systems combine both approaches, which is how devices like the BudBuddies Elite Pro manage a quick warm-up alongside consistent, flavourful vapour throughout the whole session.
How to Prepare Your Herb Before Vaping
Preparation is the step that shapes everything that follows, since how you grind and pack your herb decides how evenly it heats and how much flavour and vapour you actually get. Getting the grind and the pack right, before you even touch the temperature dial, solves most of the problems beginners run into during their first few sessions. This is also where terms like “how to pack a dry herb vape” and “grinding cannabis for vaping” come in, since both steps work together rather than separately.
Grinding to the Right Consistency
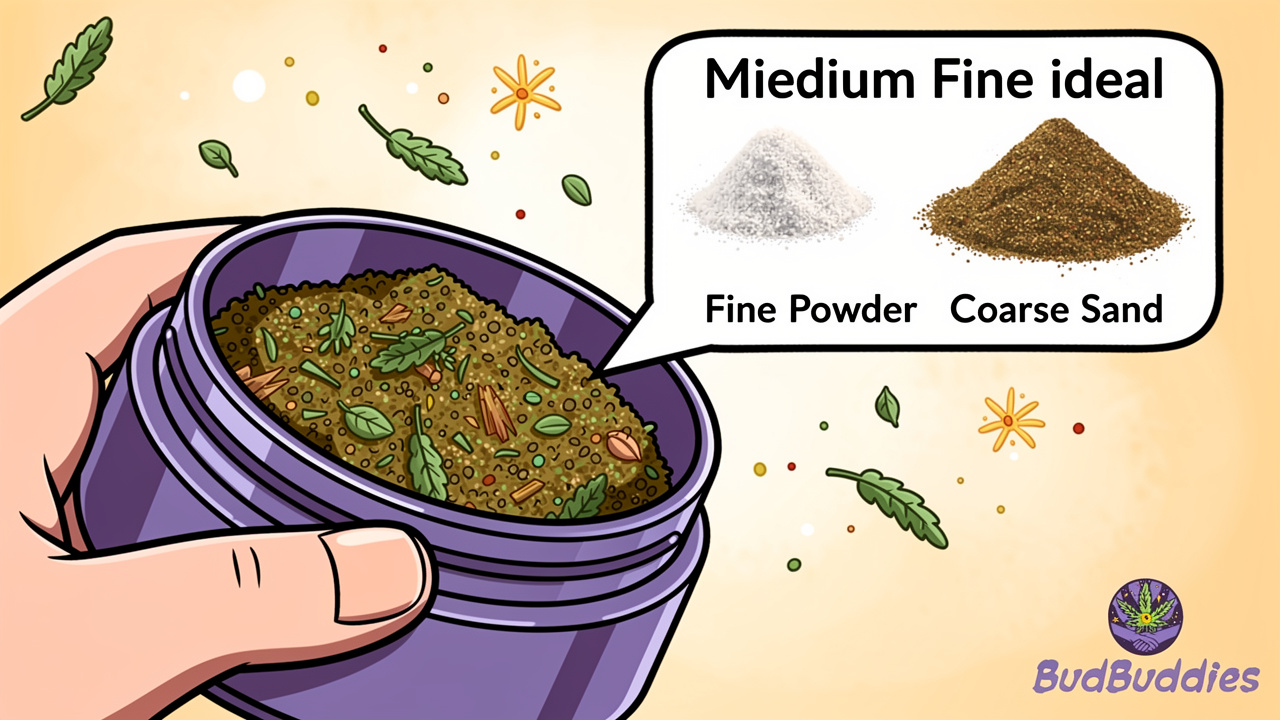
Aim for a medium-fine texture that looks and feels like coarse sand, not a fine powder. Grinding too finely can clog your device’s mesh screen and choke off airflow, while grinding too coarsely leaves dense clumps that heat unevenly and waste material. A decent hand grinder does this job in seconds and gives you far more consistent results than pulling herb apart by hand. BudBuddies cannabis flowers are cured specifically to hold their structure and terpene profile well once ground, so they respond nicely to a standard medium grind in most vaporisers.
Packing the Chamber Correctly
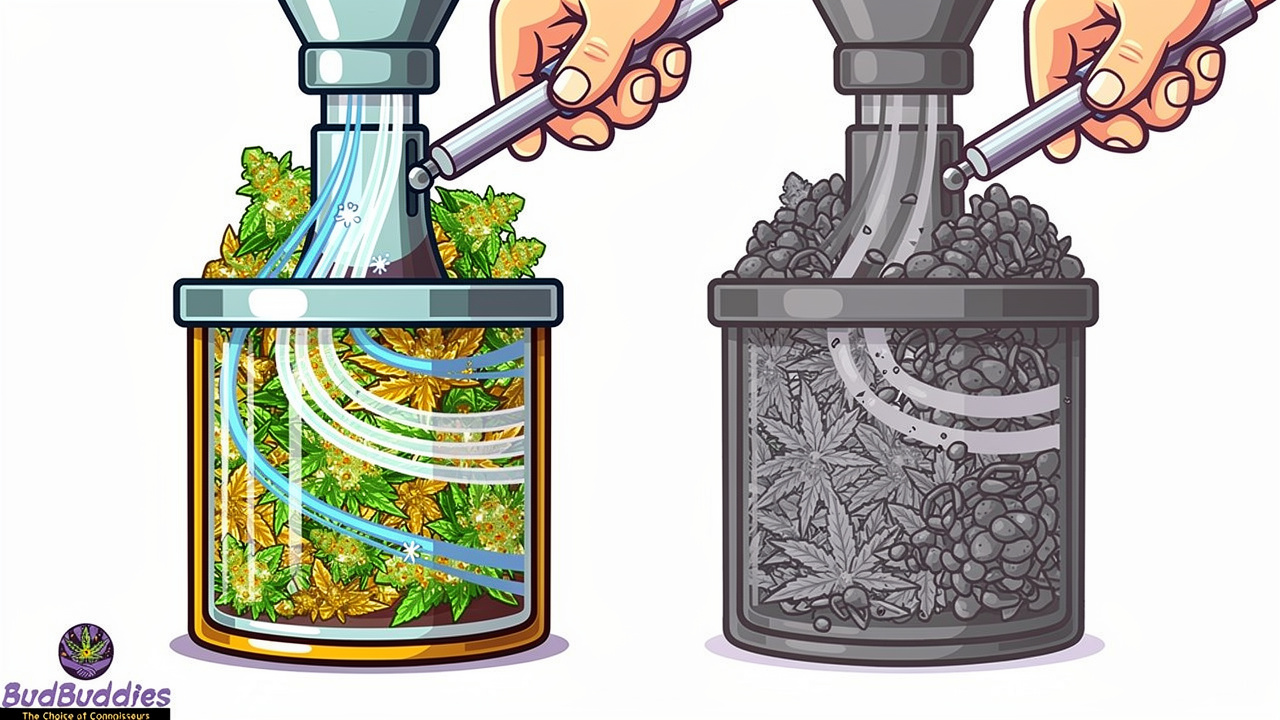
Fill the chamber loosely and give it one light tamp with the tool provided, rather than pressing down firmly. Overpacking restricts airflow and forces you to pull harder for weaker results, while underpacking lets hot air rush past the herb unevenly, leaving parts of it barely heated. A gentle, even fill is the sweet spot: firm enough that the herb stays in place, loose enough that air moves freely through it during every draw.
How to Set the Right Temperature for Your Session
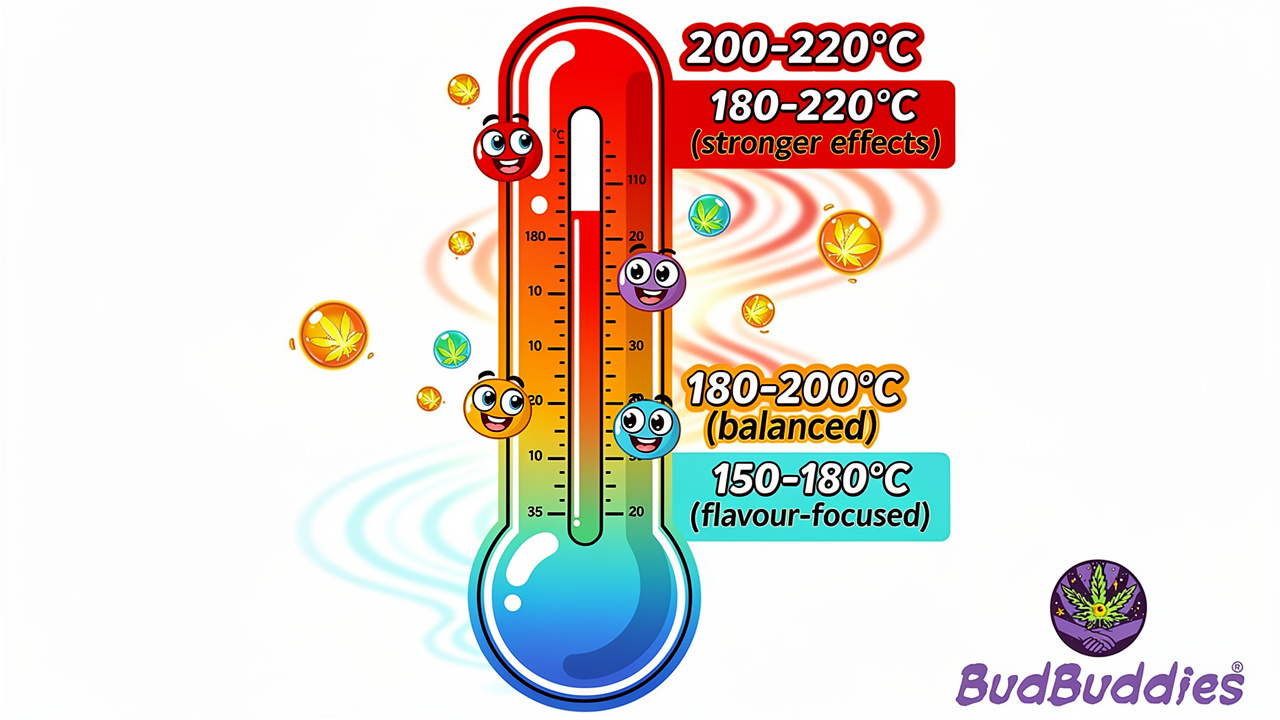
Temperature is the single biggest factor in how your dry herb vaporizer performs, since it decides how much flavour you taste and how strong the effects feel.
Lower settings around 150-180°C preserve delicate terpenes and produce lighter, tastier vapour that suits daytime use or trying a new strain for the first time.
Mid-range settings of 180-200°C strike a balance many consumers settle on for regular use, offering solid flavour alongside a fuller effect.
Higher settings from 200-220°C produce denser vapour and stronger sensations, though some flavour nuance is lost along the way.
A useful habit worth adopting early is “vaporiser temperature guide stepping”, where you start low and raise the setting by 5-10°C every few draws as the bowl empties. This pulls progressively more compounds from the same herb instead of leaving them behind, so you get more value from every gram you load.
Matching Temperature to Compounds and Effects
Different cannabinoids release at slightly different points, which explains why temperature changes the character of a session as much as the strength. THC typically vaporises from around 157°C, CBD needs 160-180°C, and CBN releases closer to 185°C, a pattern documented in the device’s official instructions for use. Terpenes, the aromatic compounds responsible for flavour, generally vaporise at lower temperatures than the main cannabinoids, which is part of what shapes the so-called entourage effect explained where flavour and effect shift together. Fine-tuning across these small ranges is much easier on a device with single-degree digital control, such as the Elite Pro, rather than one limited to a handful of rough presets.
How to Inhale and Get Through Your First Session
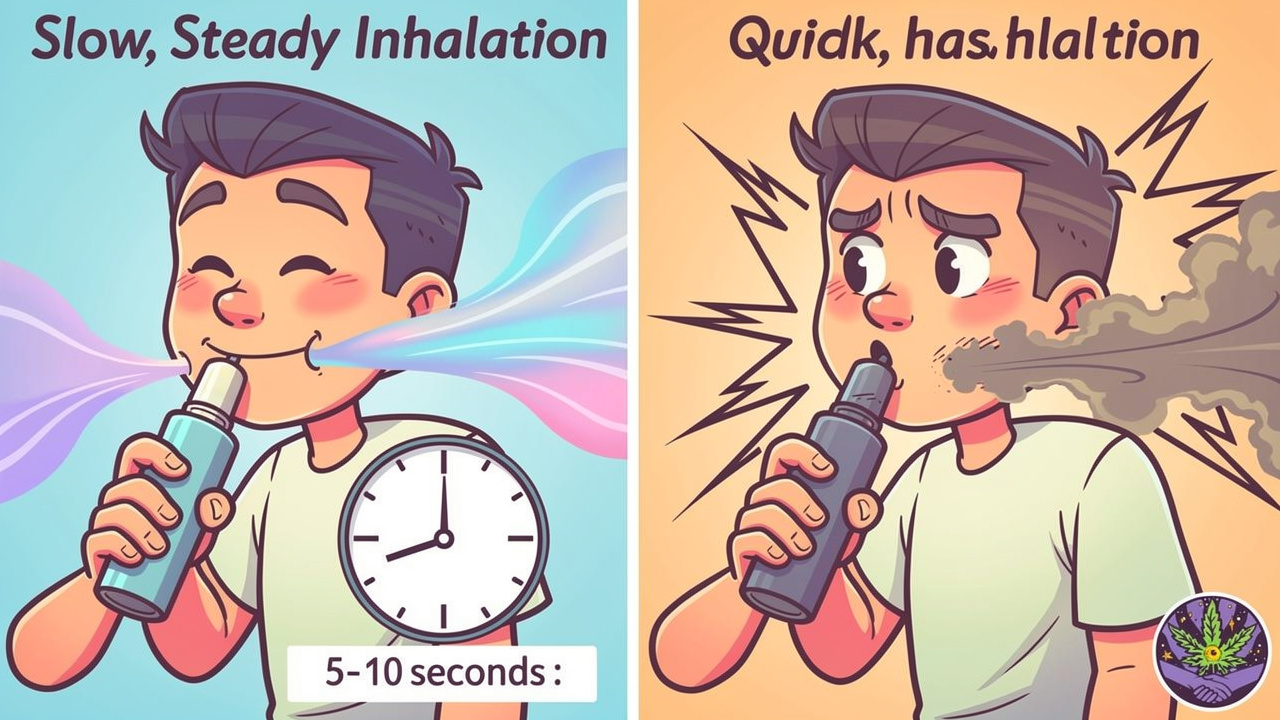
Inhaling from a dry herb vaporizer works differently to smoking, and getting this part right is what most “dry herb vape first time use” questions come down to. Draw slowly and steadily over 5 to 10 seconds rather than pulling hard and fast the way you might with a cigarette, since a slower draw lets the hot air spend longer moving through the herb and gives you a fuller, smoother mouthful of vapour. Don’t expect thick, dense clouds from your first draw either. Vapour typically starts light and builds gradually over the first three to five draws as the herb warms through, so a thin first pull is completely normal rather than a sign that something’s wrong.
Stirring and Timing Your Draws
Gently stirring the chamber between draws, using the small tool most devices include, mixes the warmer outer herb with the cooler material in the centre for a more even extraction. Spacing your draws around 30 to 60 seconds apart gives the herb time to keep releasing vapour rather than rushing through the bowl, which typically means better flavour and more consistent results across the whole session.
Quick tip: if your first few draws taste faint, don’t rush to crank the heat. Give the chamber a gentle stir and wait out the full 30-60 seconds between pulls before adjusting anything.
How to Clean and Maintain Your Dry Herb Vaporizer
Regular cleaning protects both the flavour of your sessions and the lifespan of the device itself, and it’s far simpler than most newcomers expect. A build-up of resin in the chamber and airway gradually mutes flavour, restricts airflow, and can eventually affect how evenly the herb heats, so a light, regular routine keeps performance close to how the device felt on day one. Alongside cleaning, “dry herb vape battery life” is worth understanding early, since a few simple charging habits noticeably extend how long a battery stays reliable.
A Simple Cleaning Schedule
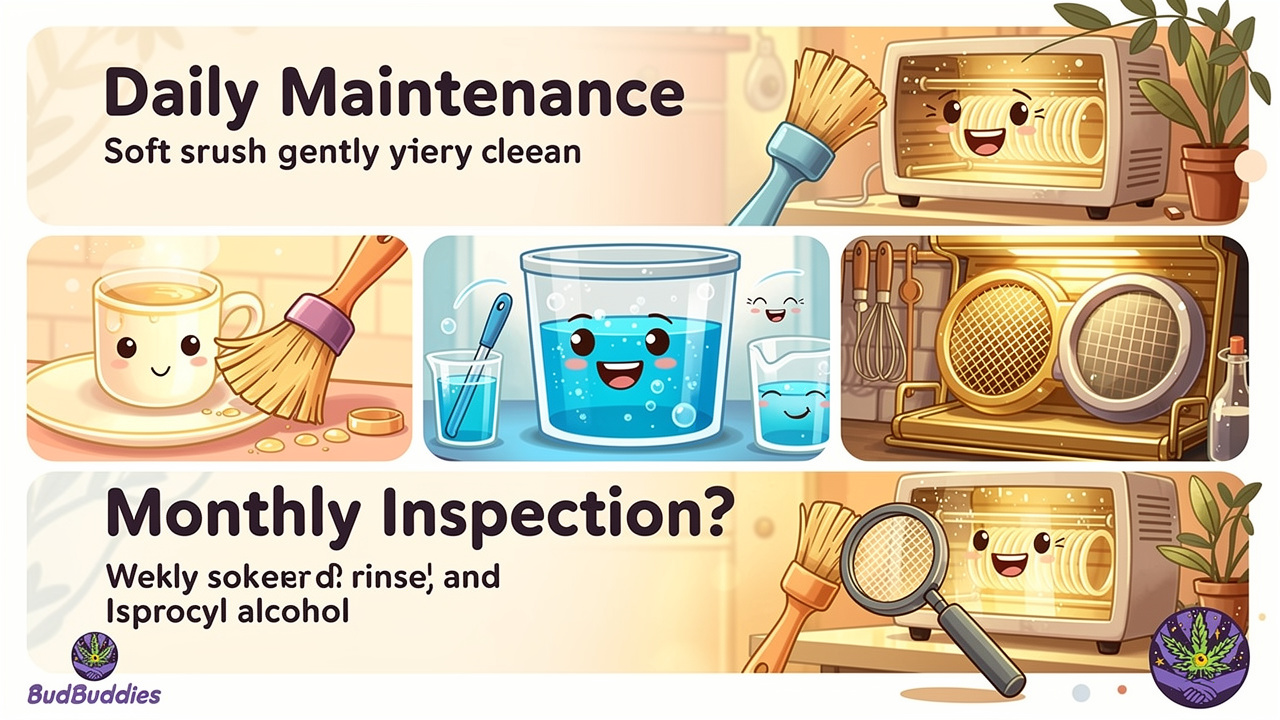
Daily: brush the chamber while it’s still slightly warm to lift loose residue before it hardens.
Weekly: remove any detachable parts, such as mouthpieces or screens, and vape pen cleaning guide at 91% or higher for around 30 minutes before rinsing and drying thoroughly.
Monthly: check screens and the heating element for wear or blockages, replacing any parts that look damaged or heavily coated.
Charging and Battery Habits
Let your device cool down fully before plugging it in, and battery safety tips somewhere with decent airflow rather than under a pillow or in a bag. Compact portable models typically manage 2 to 4 sessions per charge, while premium devices with larger batteries can reach 6 to 8 sessions or more before needing a top-up. Store the device away from direct sunlight and extreme heat, both of which shorten battery life over time.
Common Dry Herb Vaporizer Problems and Fixes
Most best portable dry herb vapes troubleshooting comes down to just a handful of recurring issues, and nearly all of them trace back to packing, temperature, or a part that needs attention. Weak or thin vapour usually means the chamber is packed too tightly or the temperature is set too low, so loosening the pack slightly and raising the heat by 5 to 10°C is the first thing worth trying. Harsh or scratchy hits often point to an overly high temperature or herb that’s too dry, while uneven heating, where some herb stays green while the rest browns quickly, usually means the grind is inconsistent or the chamber wasn’t packed evenly.
If none of these adjustments help, the issue is more likely sitting with the device rather than your technique. A blocked screen, a worn heating element, or a battery that no longer holds charge properly are all signs that a part needs cleaning, replacing, or servicing rather than another tweak to how you’re packing or inhaling.
The Takeaway
Getting comfortable with a dry herb vaporizer really comes down to four habits: grind to a medium consistency, pack the chamber loosely, start on a lower temperature and step it up through the session, and keep the device clean on a simple regular schedule. None of this takes long to learn, and most people notice a clear improvement in flavour and vapour within their first two or three sessions once they stop overpacking and start inhaling more slowly.
If you’re weighing up your next device, herb, or want more detail on any of the steps above, BudBuddies stocks a curated range built around clarity and quality, with discreet UK-wide delivery so your order arrives exactly as expected. Take it one session at a time, and the technique will become second nature far faster than you’d think.
Frequently Asked Questions
How Long Does a Dry Herb Vaporizer Session Usually Last?
Most sessions last between 5 and 15 minutes, depending on your chamber size and the device you’re using. Vapour naturally becomes thinner as the session goes on because the available compounds get gradually extracted, so a tailing-off in density is a normal sign that the bowl is close to finished.
Can You Use a Dry Herb Vaporizer with Concentrates Too?
Only if your specific device is designed to handle both, since using concentrates in a herb-only unit can damage the heating element or void your warranty. The Elite Pro is built to handle dry herb and concentrates safely, which is worth checking for on any device before you try switching materials.
Why Is My Vapour Weak or Tasteless?
This is usually down to overpacking the chamber, setting the temperature too low, or a screen that’s become blocked with residue. Try loosening the pack slightly and raising the temperature by 5 to 10°C, and check the screen for build-up if the problem continues after those adjustments.
What Should I Do with Already-Vaped Bud?
Already-vaped bud, often called AVB, still holds some residual compounds even once it’s turned brown and stopped producing much vapour. Rather than throwing it away, many people save it up and use it later in how to make edibles or infused oils to get extra value from it.
How Often Should I Replace Screens or Parts?
A monthly check is a sensible general rule, though heavy daily use means you’ll likely need to look sooner. Watch for restricted airflow, a noticeable drop in vapour, or visible residue build-up on the screen, all of which are clear signs that a replacement is overdue.
Is a Portable or Desktop Vaporizer Better for Beginners?
Portable devices suit beginners best when discretion and convenience matter, since they’re compact and simple to use anywhere. cannabis vaporizers top picks suit those planning regular sessions at home who want bigger clouds, but a portable option with preset temperatures, like those in the BudBuddies range, is usually the easiest starting point.

